I may have a problem with decorative trays. I like them more than they like me. If I see a good looking tray at a reasonable price, there is a more than reasonable chance it’s coming home with me. I tell myself You’ll use it to round up all the little doodads on the nightstand!….three years later the doodads are still roaming free like wild camels, and the tray sits in the cupboard with his other tray friends. Hurumph.
In hopes of upping my tray game I’m taking this one to the next level: DIY. This is a tray that will be out allllll summer. Why?
Because that is how long it will take me to finish coloring it in. And you know what? I’m excited about that!
Yes. As if I didn’t already have enough coloring books on my coffee table – now I have a tray to match.
This project is part of the Michael’s Makers program – they asked us to take a trend and add a twist. This is it!
And yes, it’s super easy. And it’s certainly not restricted to trays – what about a lamp base? Or a whole coffee table? I have a desk that is wallpapered black and white that might be colored in any day now. Three years ago when I bought my first ‘adult’ coloring book, it was one of five on the shelf. Now Michaels carries DOZENS. For real. Y’all. This is a thing!
Materials
-Coloring books (I like using blanks but if you have some page pre-colored, use those so long as the ink is not water soluble.)
-Mod Podge
-Disposable cup with 1/4 cup of water
-Tray (Here I am using a wooden canvas from the art supply section, but a regular tray will work fine too.)
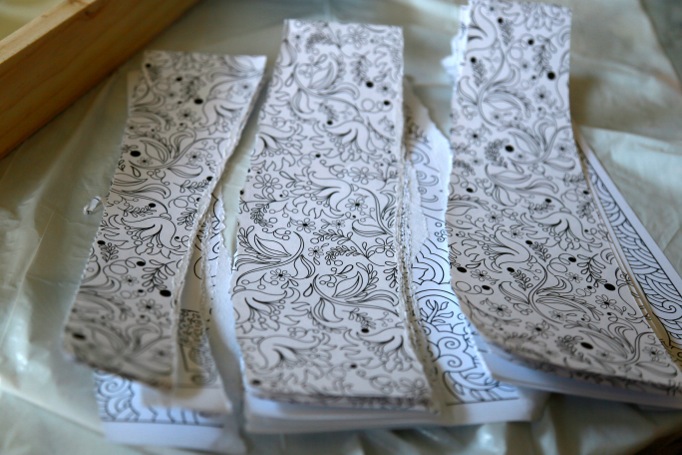
Tear pages into two-inch strips.
Slather a layer of mod lodge (full strength) all over the tray.
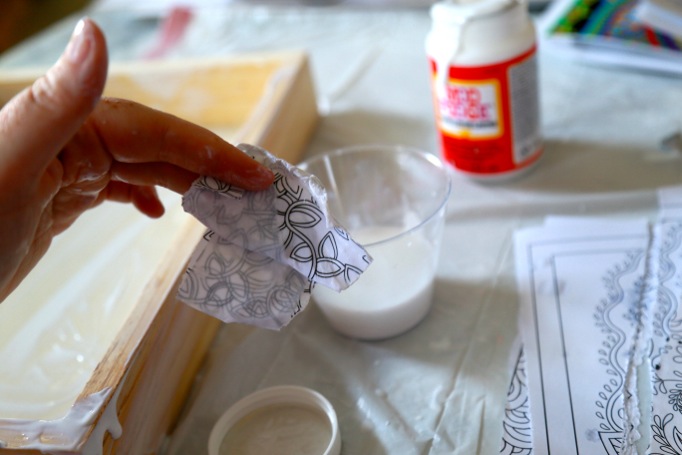
Mix together the 1/4 cup of water with 1/2 cup of mod podge (these are very approximate amounts – eyeballing is fine), then dip a strip in the cup of diluted mix. Personally, I like to crinkle my paper a bit before the dip because it helps with absorption, especially if the paper is on the thick side. If you are familiar with decoupaging, you do you. I have another tutorial on decoupage tips and tricks from a while back.
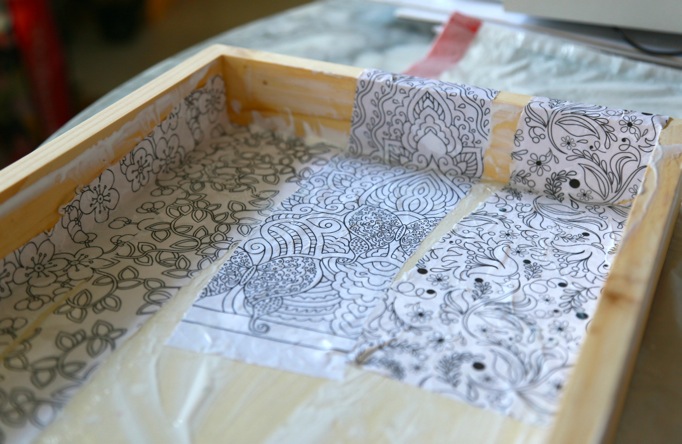
Lay the paper strips on to the tray and smooth out any big bumps or bubbles. Don’t fuss too much or the paper will start breaking down (if that happens just wait until it’s dry, pick off the bad stuff and decoupage over).
Allow to dry overnight.
And here is the best part: COLOR YOUR HEAR OUT.
Now I know what you are thinking – Do you need special markers? No. These are regular water-based markers from the kid section. Normally, you cannot write on a glossy Mod Podge surface with regular markers, and this is why I suggest adding the glue full strength under the paper, then use a diluted mix on top. The diluted glue sinks in and the paper stays semi-absorbant. No slick surface. That’s also why I don’t suggest doing a top coat until after the coloring is done. See? I know my decoupage tricks.
HOWEVER. If you end up with a thick and glossy coating, and regular markers don’t stick, just use permanent markers. Or colored pencils. Or crayons. Or paint. Whatever you prefer. I recommend a spray varnish finish at the end, especially if the final product will be around water, but that is your call.
So if you are in my neck of the woods and you see a crazy woman sitting on the beach coloring three dimensional objects – come over and say hey!
Looking for fun things to do this summer? From tie-dyeing to coloring books to tassels, pom poms and even UNICORNS, Michaels has everything you need for the latest and hottest DIY trends! Be sure to checkout all of the other Michaels Makers Favorite DIY Trends on the Michaels blog.


Oh my goodness, this is greatness! I esp love that you tore the pages into strips, soI don’t have to measure stuff. What a wonderful idea, Peaches!
What a fun and neat idea!!
This is amazing! I need this in my life. *runs out to go buy a tray immediately* 🙂
Looks wonderful tray! it’s very useful, thanks for your idea….