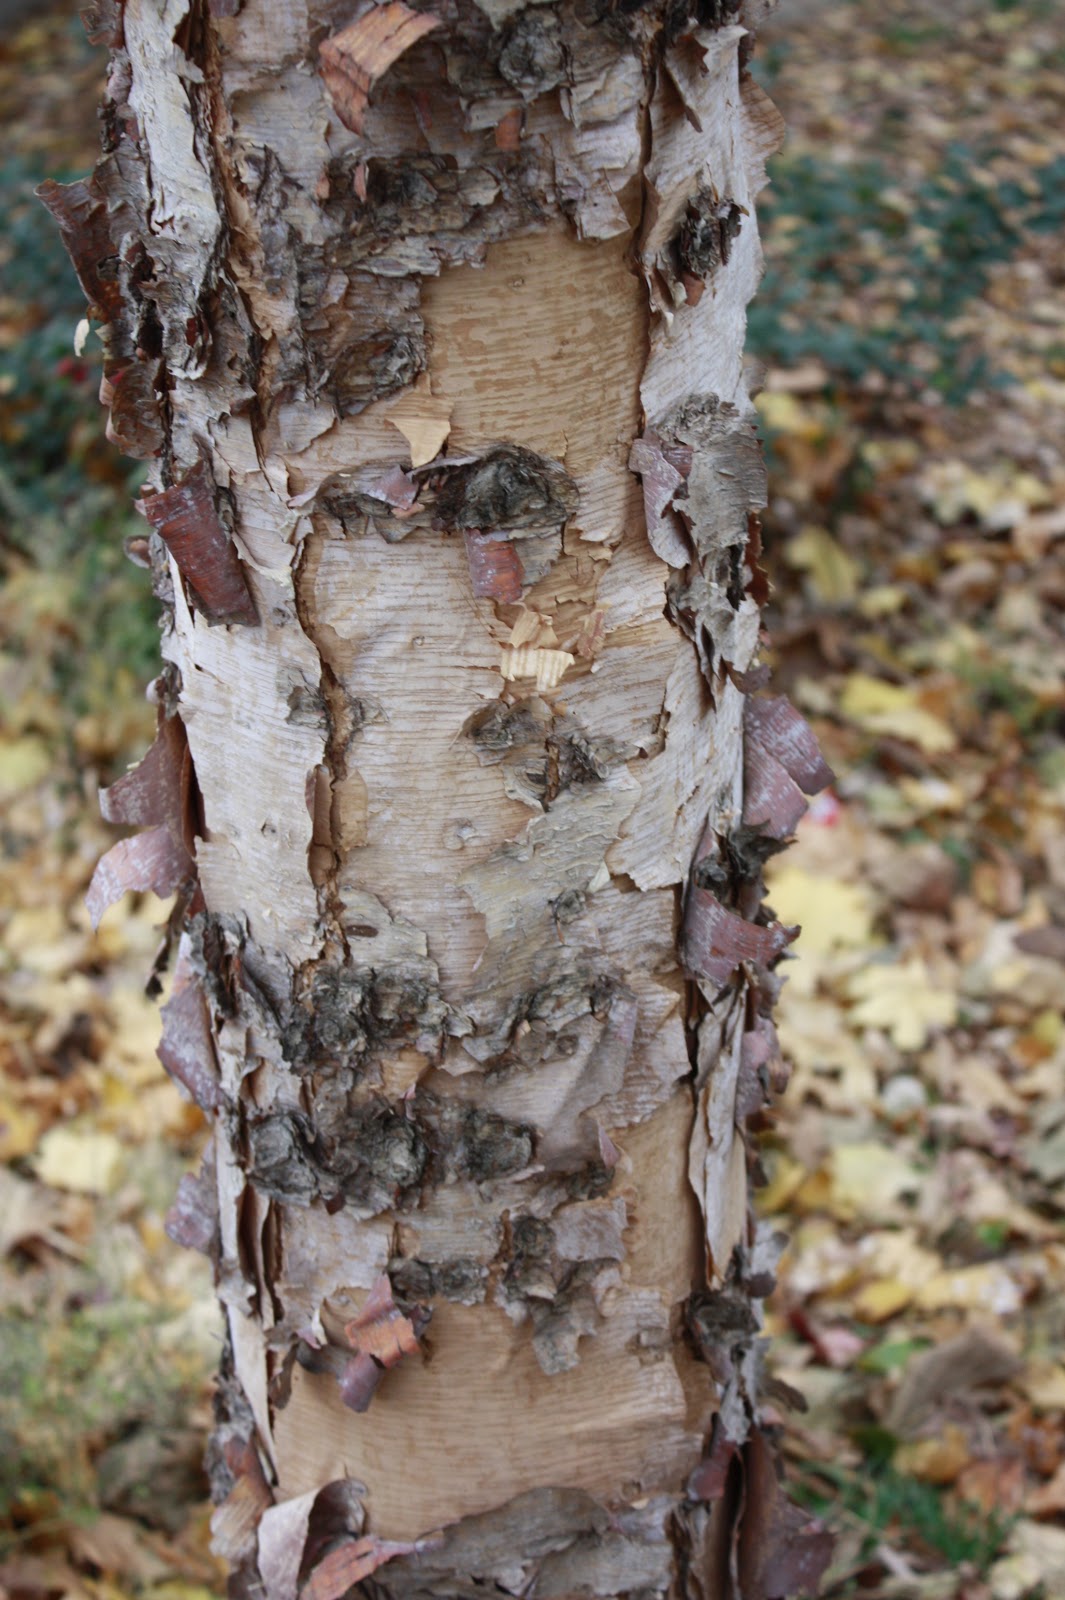
Remember when I was going to post a flower project every Friday and then I stopped doing it because I kept forgetting it’s Friday? Well, today I’m rectifying that, even though technically this is Monday. Let’s just pretend it’s Friday, okay? I could go back and alter the date so it looks like I posted this on Friday but that seems dishonest and technologically complicated.
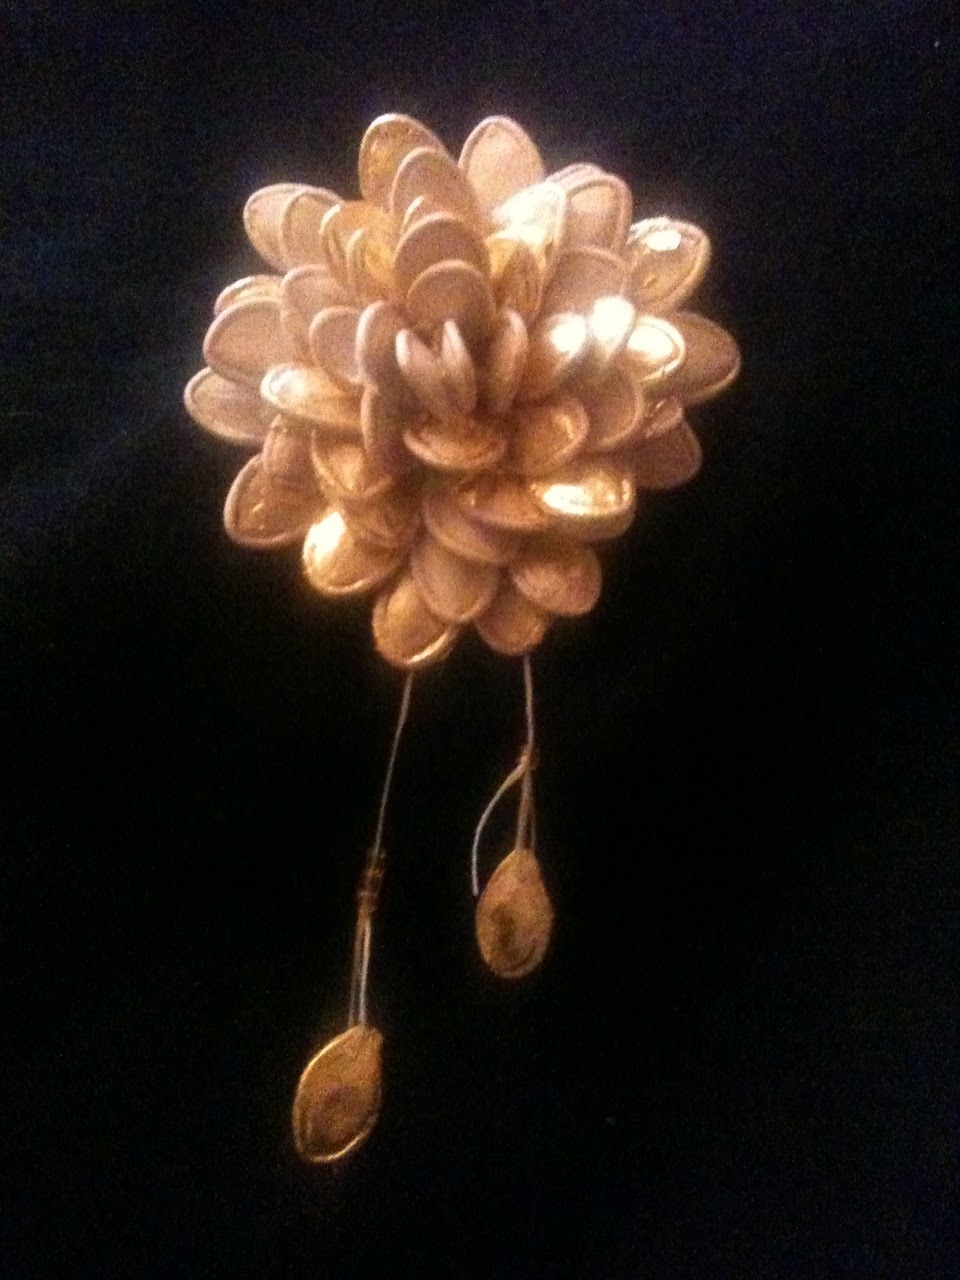
Also, this project is no big whoop because I have pretty much posted it already. Only difference this time is that I’m using a plastic bag to make a bow for a wine bottle, because, let’s face it, there’s a good chance you are giving away some wine bottles in the next few weeks. Okay, Okay, Okay….not everyone drinks and gives away wine. You can slap one of these pom-pom flowers on a tasteful hostess gift like some French soap or a scented candle….but I like using wrapping wine in something that would normally end up getting thrown away. There is something really fun about giving away booze and garbage.
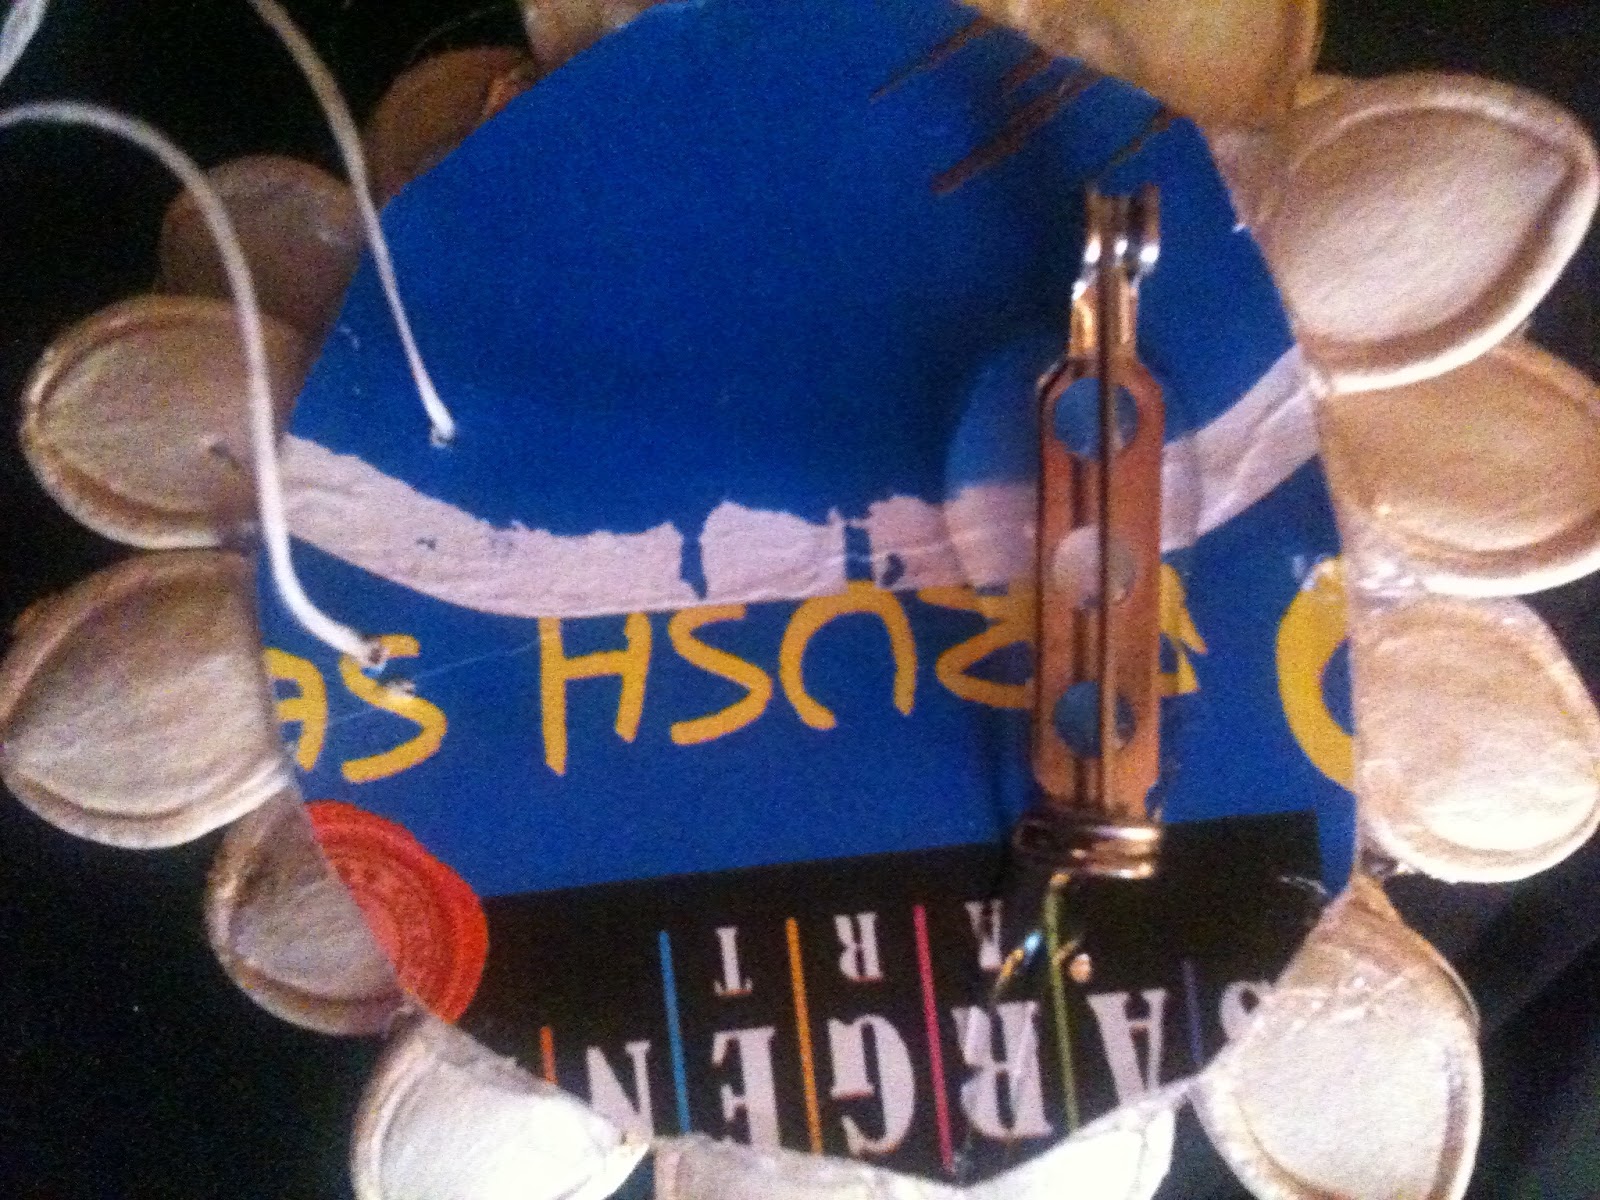
To make these, all you need is a plastic bag, some scissors, a 3# piece of cardboard and a piece of wire or ribbon or twine (pipe cleaners are my personal favorite). If you have ever made pom-poms out of yarn on your fingers, you will know how to do these already. Skip it and start making stuff already, wouldja?
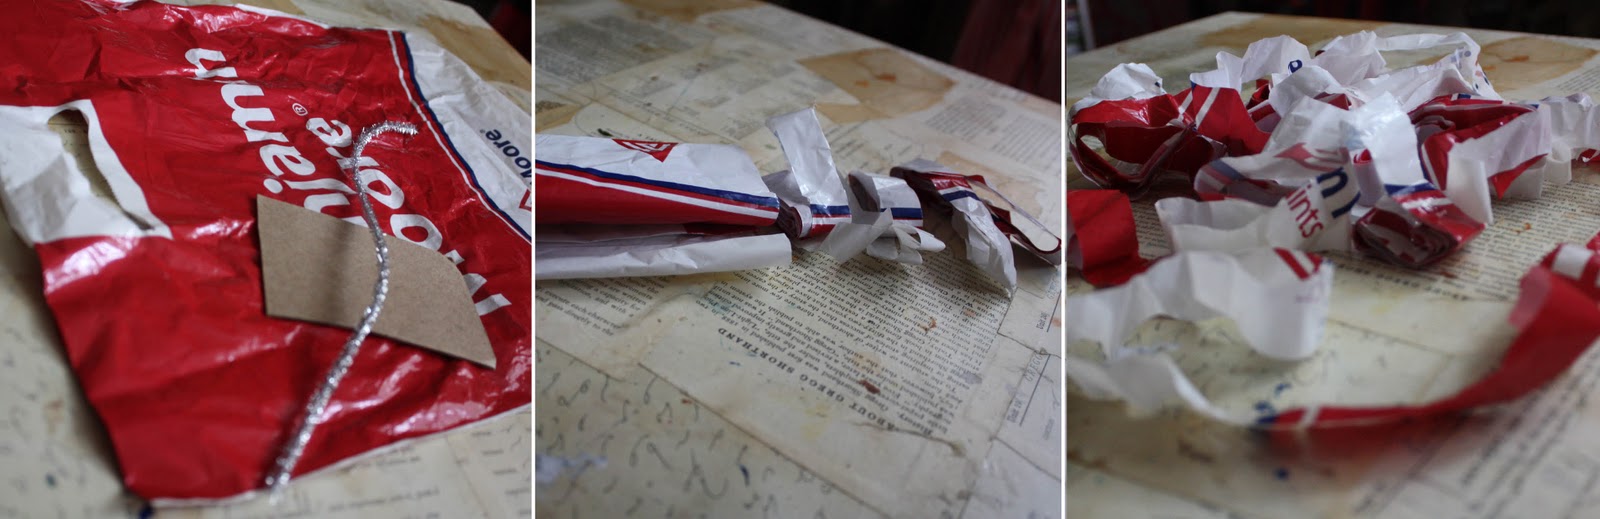
First, cut your bag on one side to create one large flat piece of plastic, then roll your bag into a tube shape. Snip across the tube every inch or so. You will be left with something that resembles a pile of loose spaghetti or plastic ribbons.

Wrap the individual strands around your 3” piece of cardboard. One at a time, or ten at a time, doesn’t really matter. Once the cardboard is done, slip the pipecleaner under the plastic ribbons you just wound up. Twist the pipecleaner so it holds all the plastic together, then, on the opposite side, exactly reverse from where the pipecleaner is knotted off, snip the bundle of plastic ribbons apart. Ta Da!
Now you can add colorful plastic bags to the list of things hoarded inside your pantry. I know, I know, you have way too much space in there already. You’re welcome.