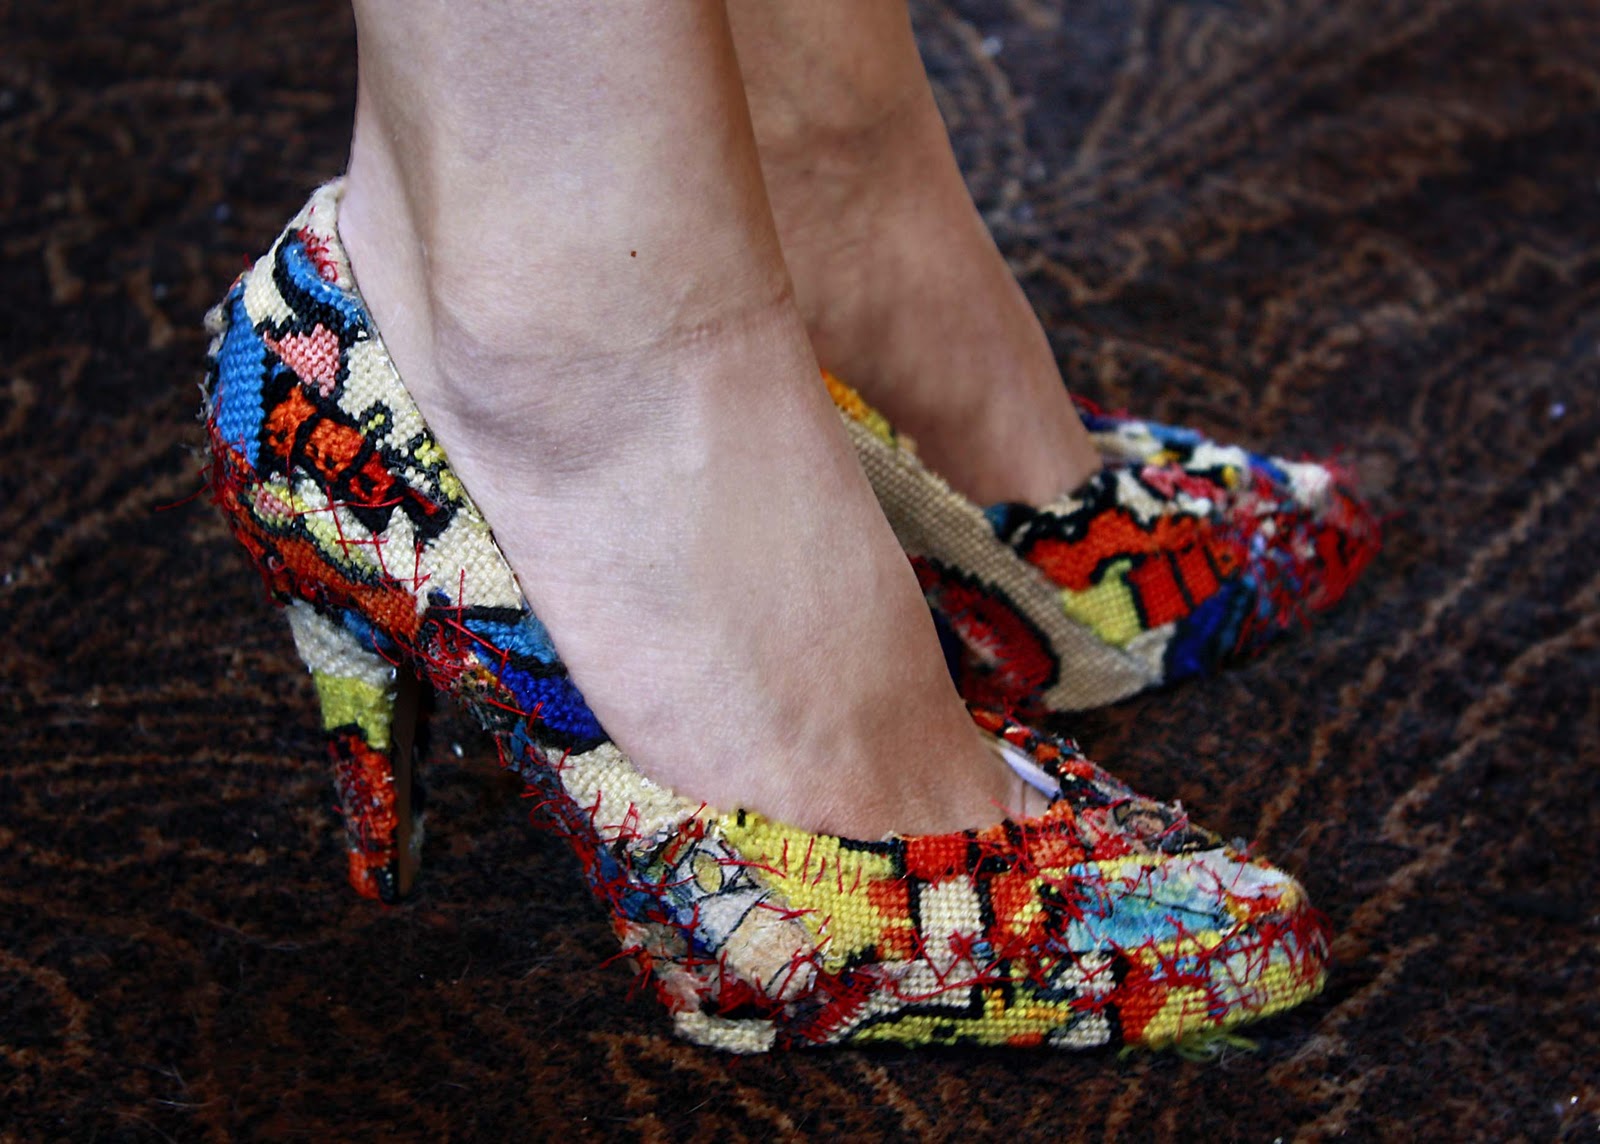
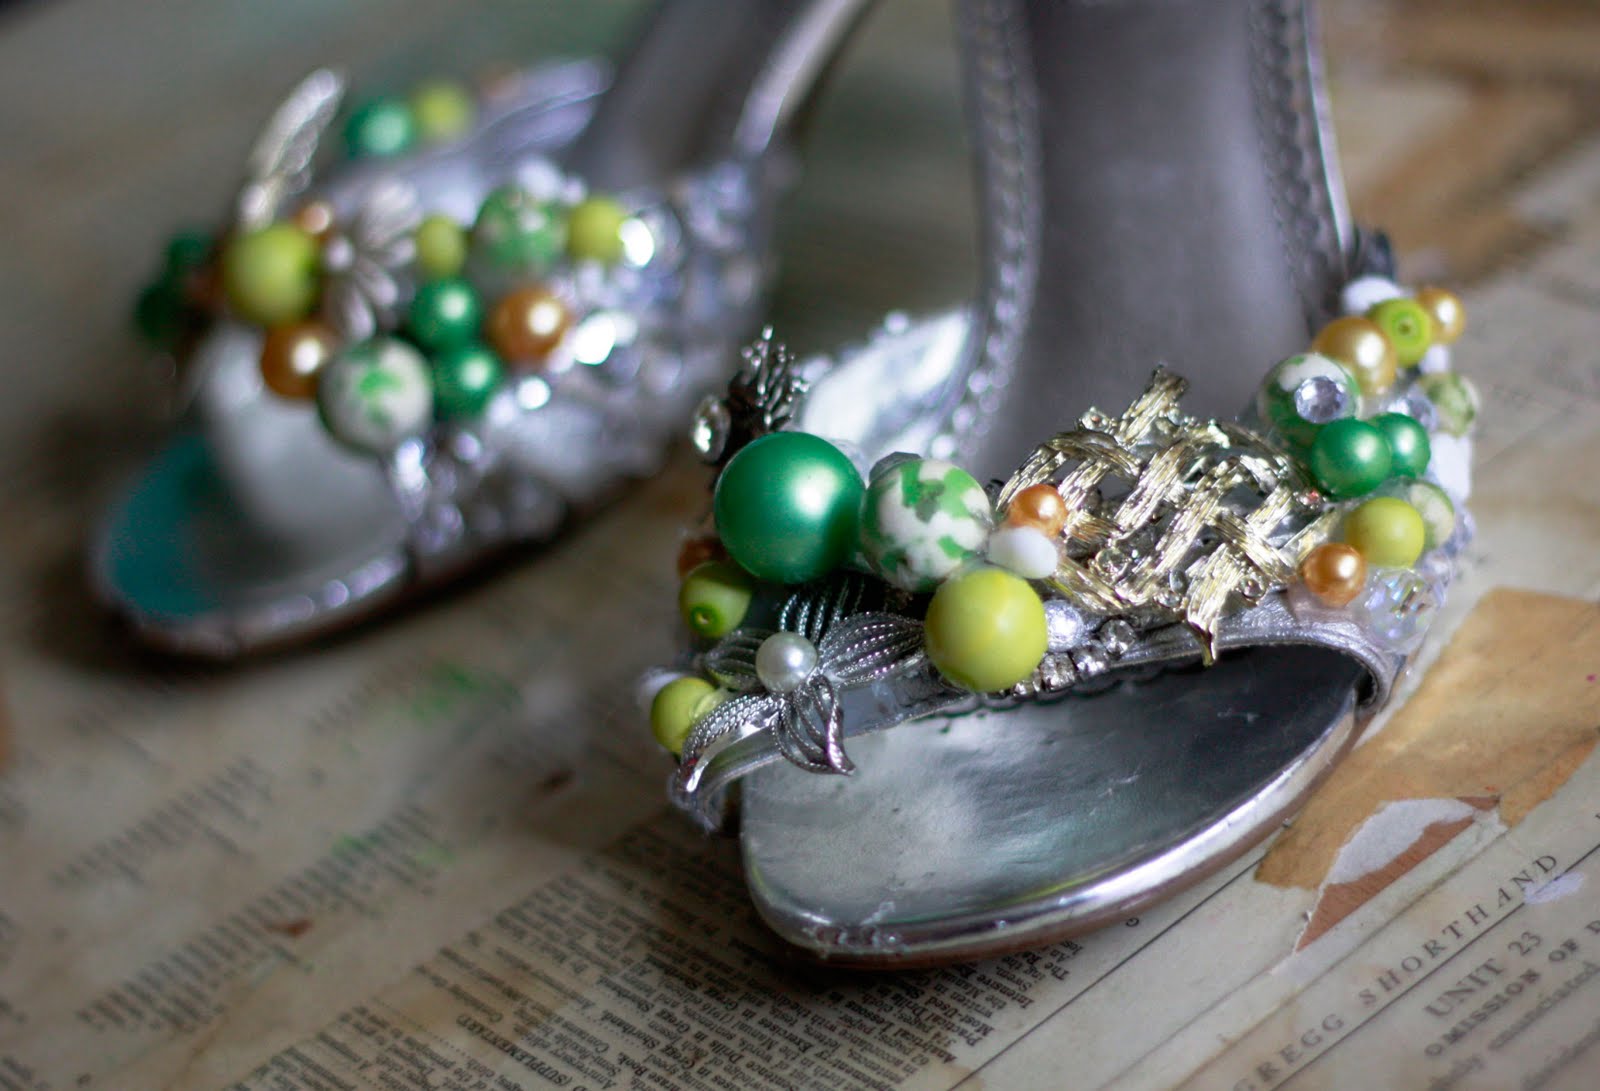
I know. Are these the cutest shoes EVER?
I know. I can’t handle it. And guess how much they cost?
$2.95
I know!

To think, all these years, I could have been wearing super cute spangled shoes. Geezers. For shame on moi.
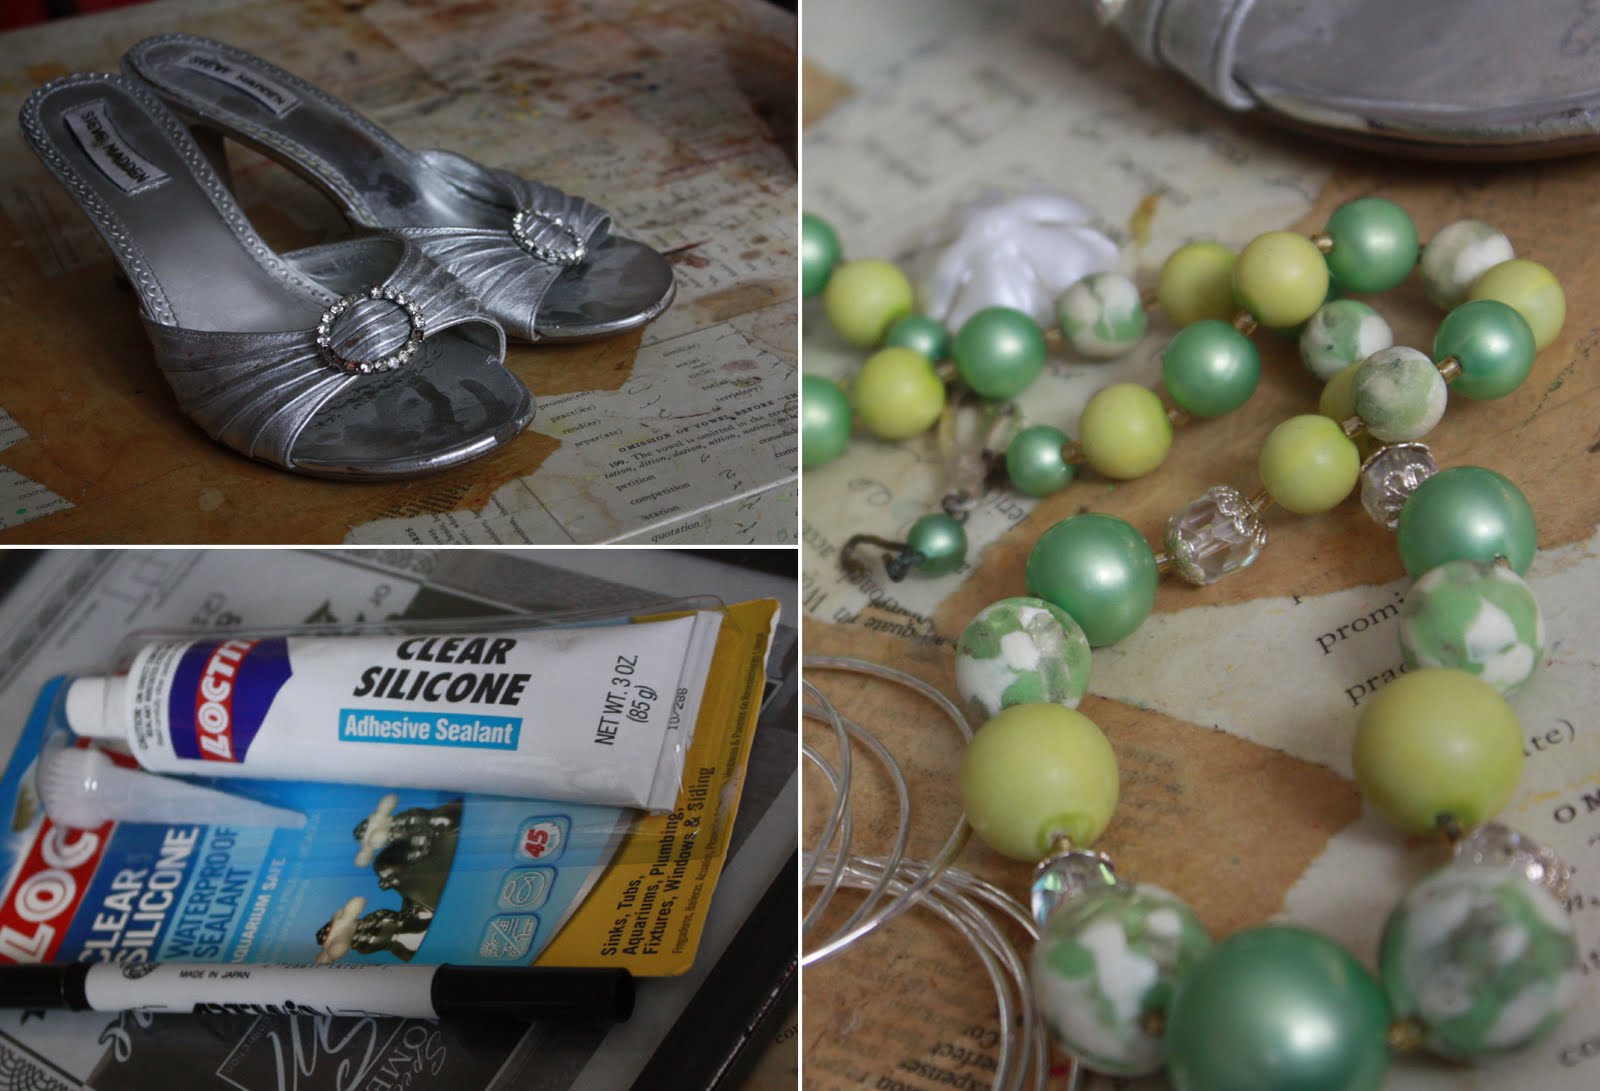
Materials
- Beaten Up Old Party Shoes (Free) Pick something with clean lines that have a fabric or leather exterior (the adhesive doesn’t seem to stick to plastic/vinyl very well). And don’t go and buy new shoes –use old ones that you have worn in a bit. It’s important that the shoe has already been molded to your foot, otherwise the shoe shape will alter as you wear it, stretching/tearing the adhesive bond, allowing your cute beads to fall off. No bueno. Old shoes por favor!
- Busted Up Old Costume Jewelry (Free) Rummage that shoebox —you know, the one you keep next to the panty hose—and see what funky treasures you can find. The uglier the better. And break up an old beaded necklace or two. I really wanted to find my old *BEST FRIENDS* broken heart necklace set and wear one half on each shoe. Then I realized I only had one half of the set, and the other half belonged to a girl I haven’t spoken to since 1989, who once tried to give me a home perm using a bottle of windex and the contents of her parent’s fork drawer. So, I’m thinking, yeah, she can keep the other half of that necklace and I’ll stick with beads.
- Silicone Adhesive ($2.95) You will find it at the hardware store, usually in the plumbing section. Sometimes it’s called tile adhesive or bathroom sealant, just make sure it’s made of clear silicone and comes in a simple tube that doesn’t require a special gizmo to operate. You might see clear silicone in your home already—lining the seam between your bathtub the wall, or your countertop and backsplash. It’s cheap, waterproof, and reliable. It’s roughly the consistency of toothpaste and dries to the touch in a about an hour. You are going to love it.

Start by putting the big stuff on first using the traditional pin/earring backs/etc. Now try on the shoes and make sure they comfortable. Sometimes big brooches can alter flexibility, so rearrange as necessary. You are going to want to wear these all the time, so make sure you are comfortable.
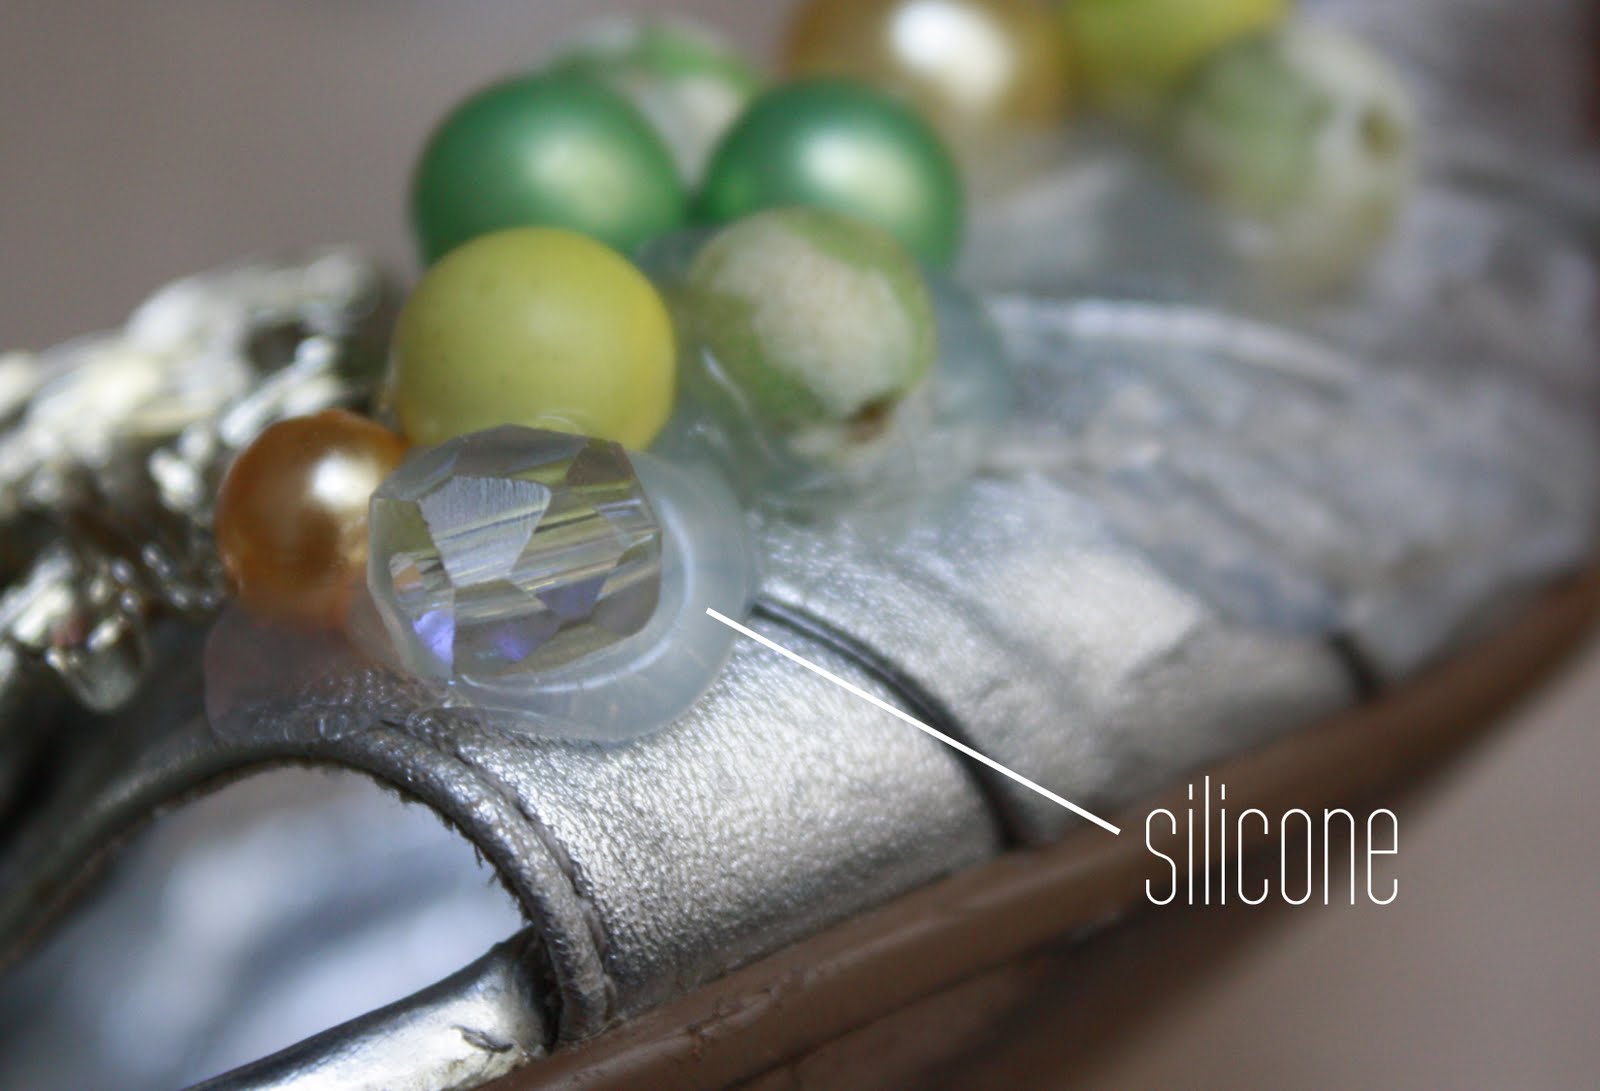
Now we’re cookin! Squirt a blob of silicone directly under the larger jewels and immediately around each bauble. Lay a row of beads in the row of silicone, alternativing sizes and colors. Start from the middle with larger items, working outward with smaller pieces as you go. Now stop. Let it dry for an hour. Take a load off and watch something on Bravo.
Note: Silicone is not messy if you squirt directly from the tube. Don’t bother with brushes and gloves, just be nimble with your hands and have your beads ready to go.
Another Note: Live a little and don’t be all conservative and make your shoes perfectly symmetrical looking. Seriously, when are you going to get a chance to buy non-symmetrical shoes in a store? So boring. So have fun with these and arrange your beads and baubles differently on each shoe. Look for balance — not symmetry.
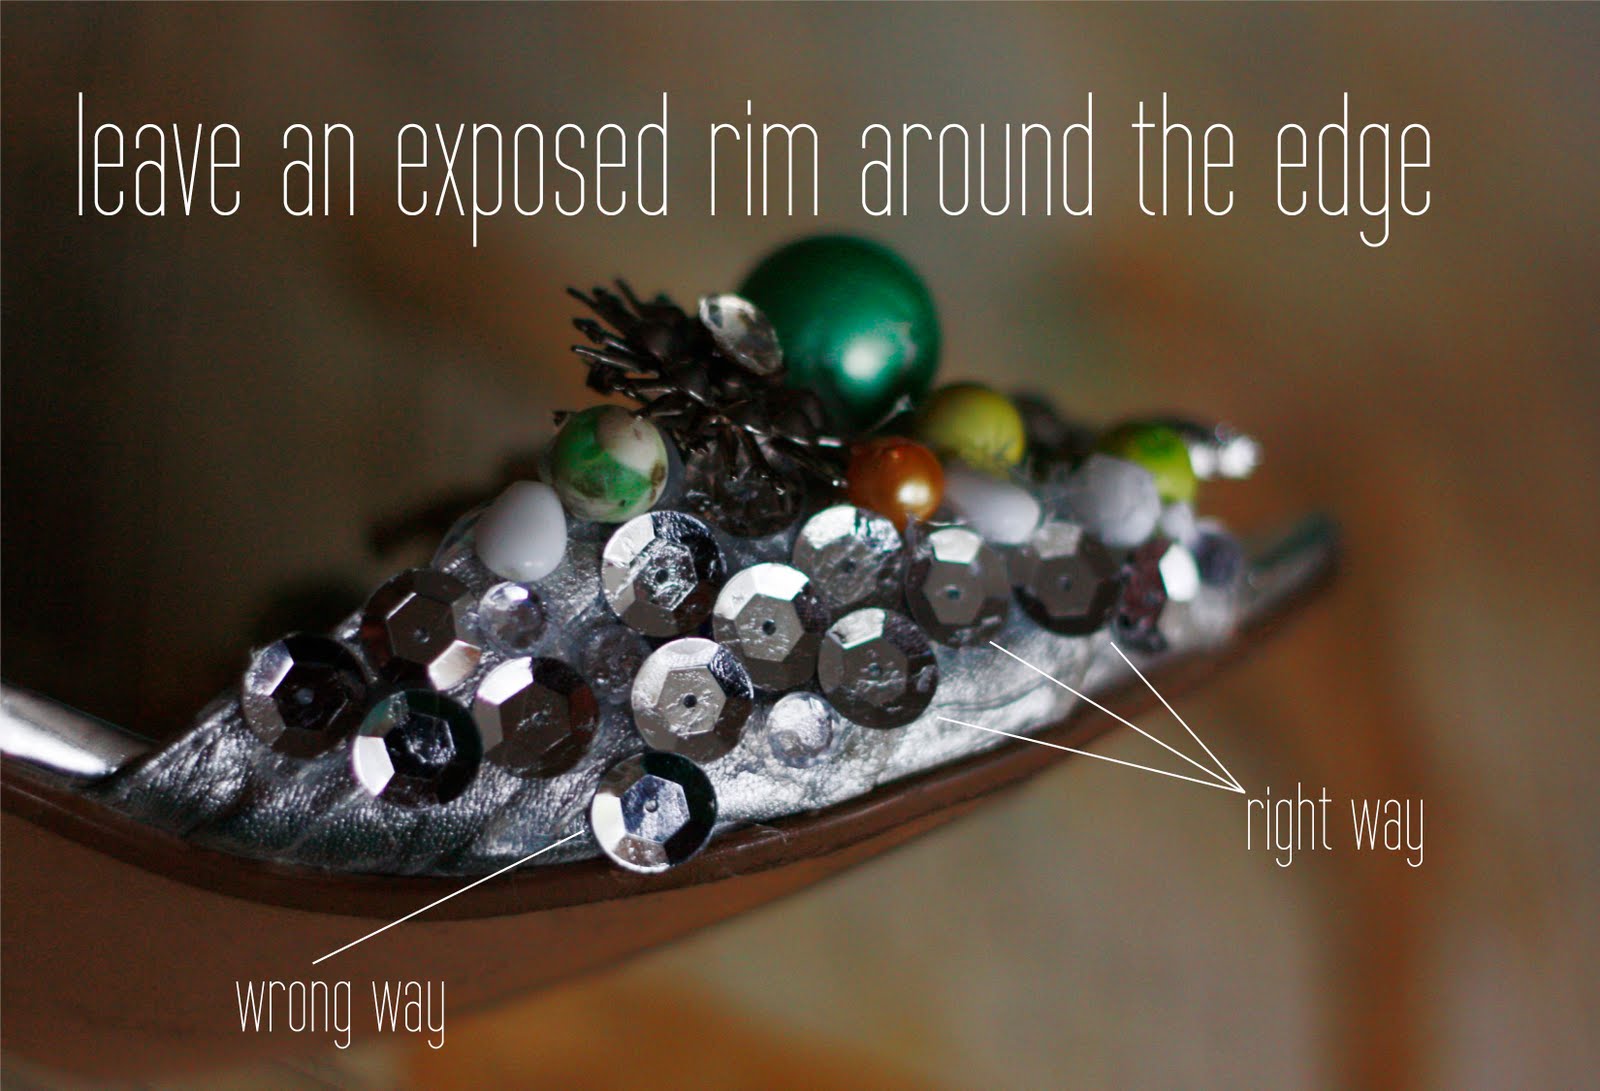
Now go back with more silicone and fill in the gaps. IMPORTANT: Do not go all the way to the edge. The beads will scrape the ground as you walk, fall off. The exposed silicone will get ragged and ugly and you will hate it. Hate. It. So don’t do it! Leave the outer perimeter exposed and use a line of something cheap and flat along the edge, like seed beads or sequins. No one will notice the edge. So chill.
Let them dry overnight undisturbed. Don’t go messing with them as they dry or the silicone will not bond properly. Leave them be!
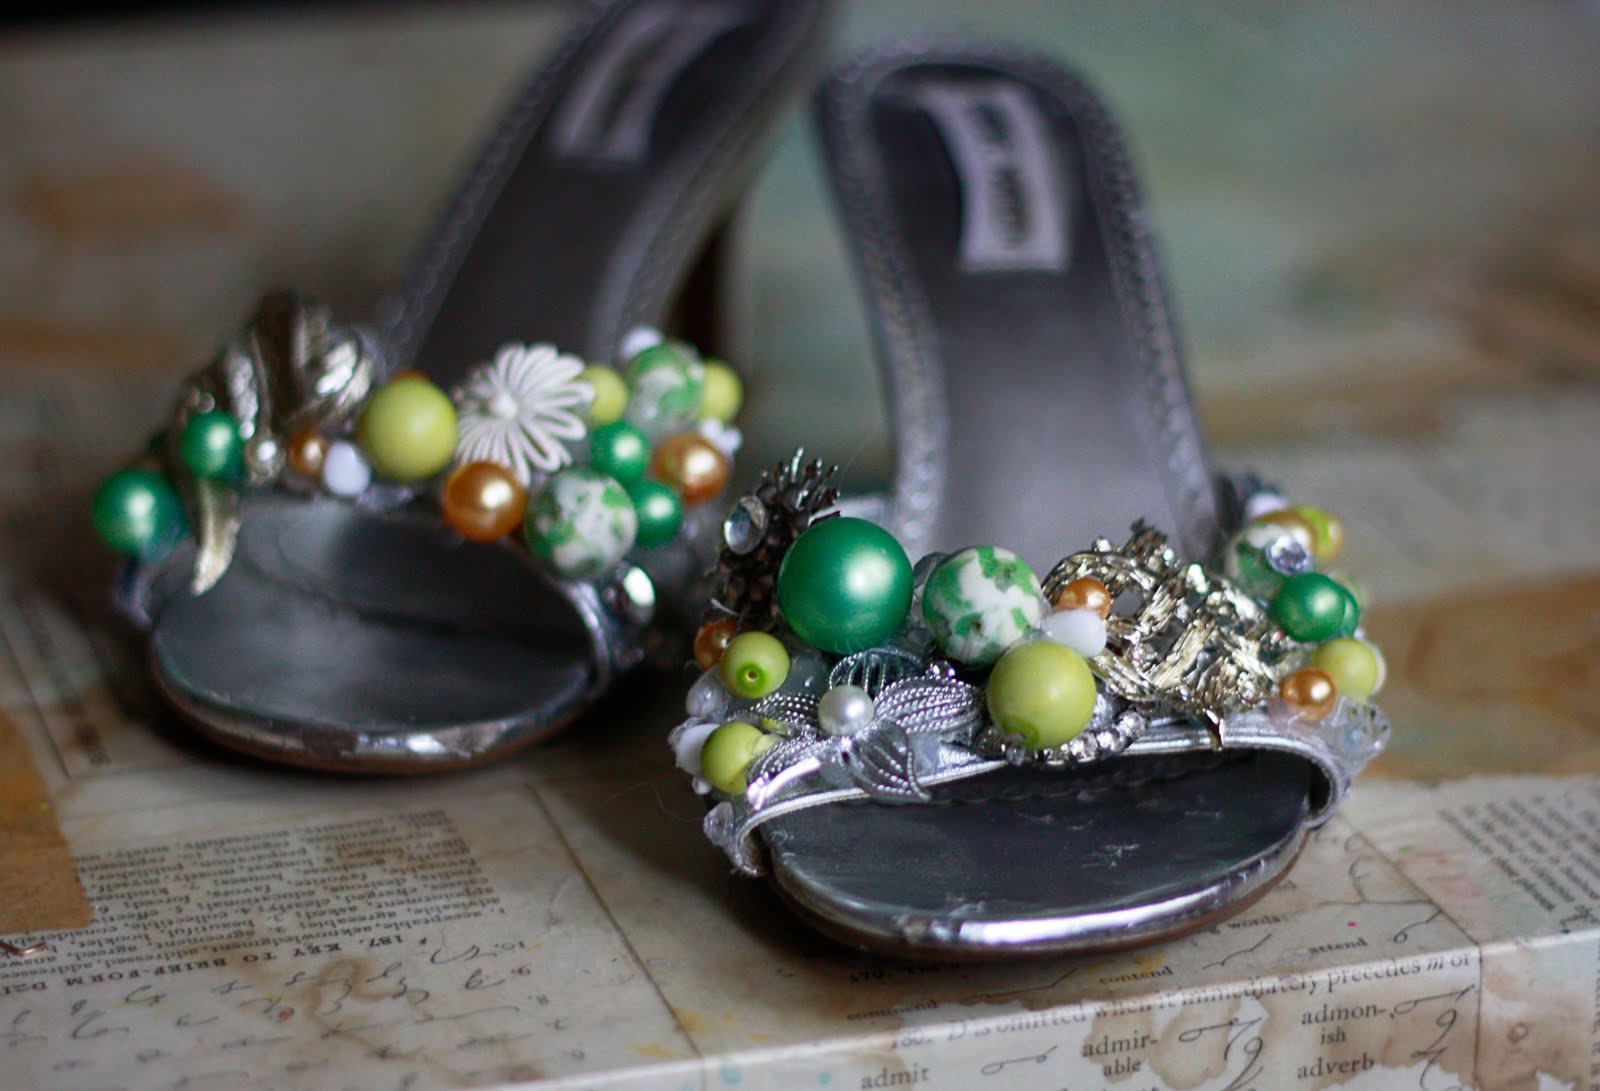
BOOM. There it is.

Send me pictures if you make some on your own. I want to see what you made!