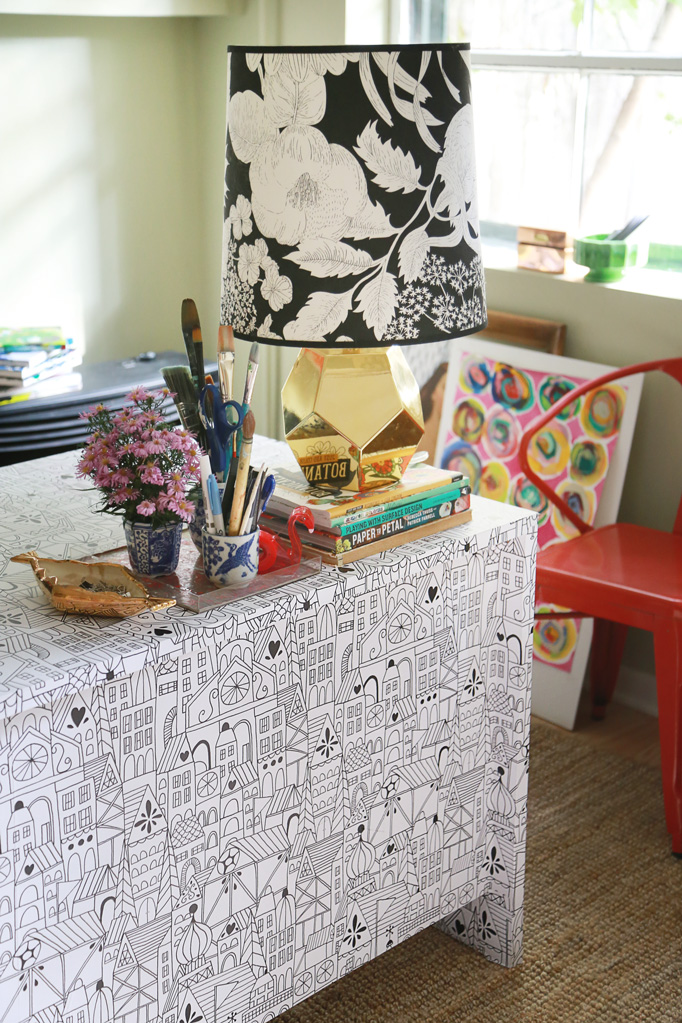
I think 2015 will go down in my mind as The Year of Bad Art. Now, I’m happy to say I think I made some good art too (and thanks to everyone who has been supporting my Etsy pop up shop – there are just a few left!)…but there has been a lot of leftovers. Stuff that never made it to the home stretch. Not so pretty stuff. Some people see this “making mud” as a critical component to creative process, and I don’t argue with that, but I would like a way to upcycle some of this stuff. Luckily, I have just the idea.
Or ten…
Stay tuned. But this idea, is a good one to kick it off!

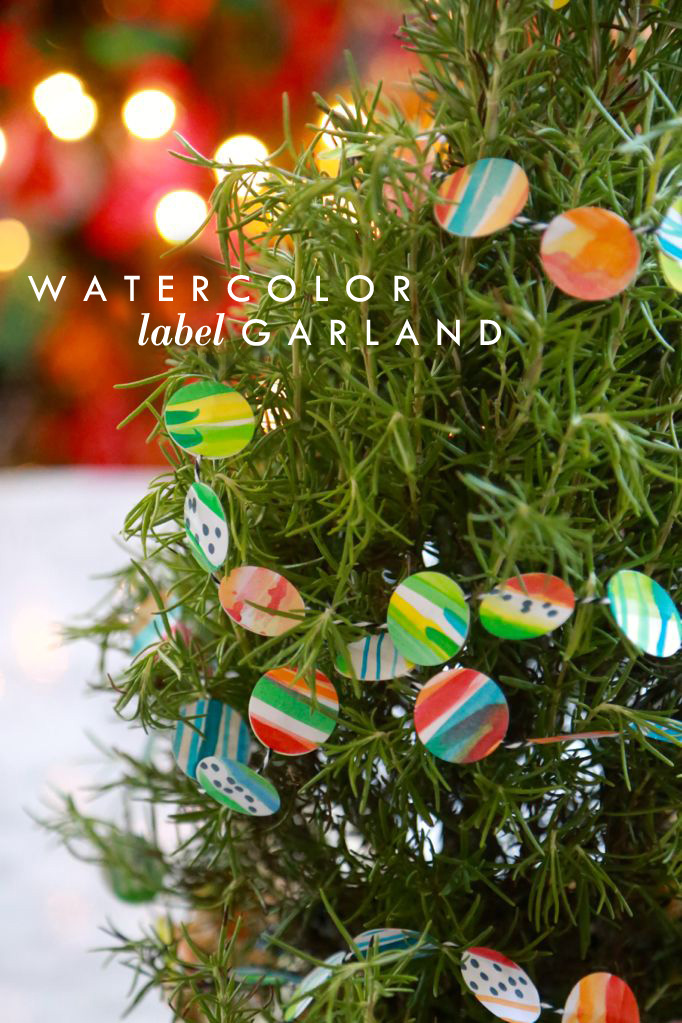
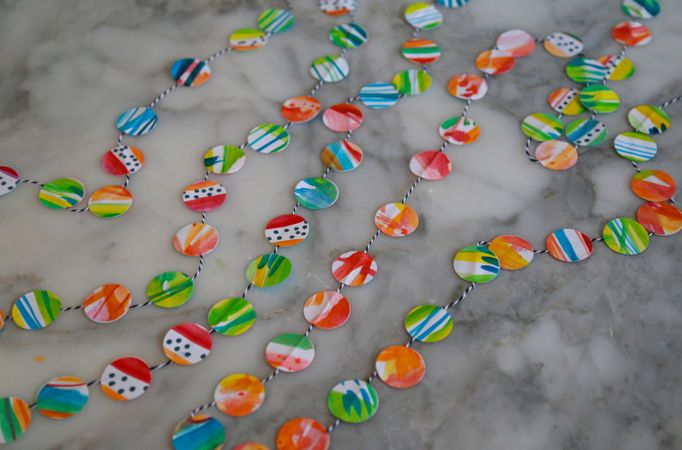
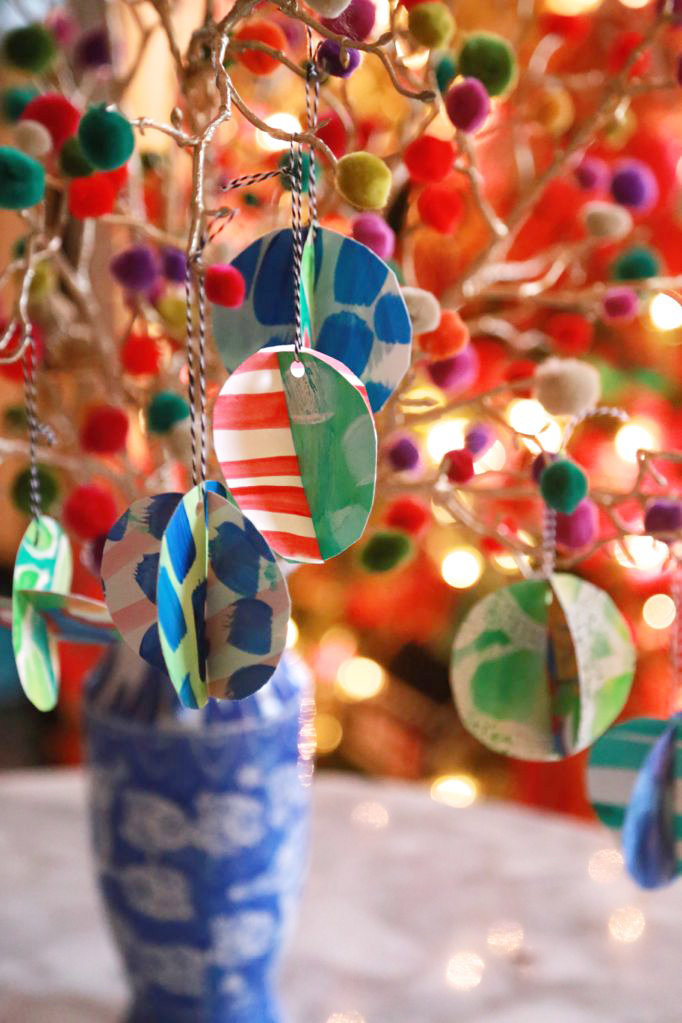
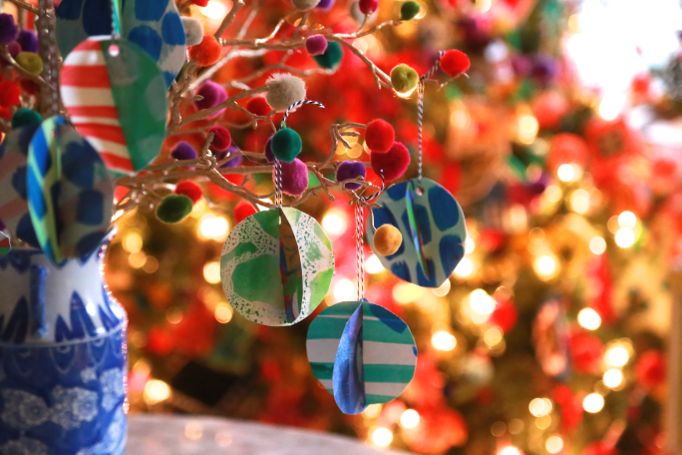
This is part of my week-long Craft Lightning Series because you can make HUNDREDS of them in no time flat. I was planning on only doing two trees this year (a cut back from my usual sour or five) but I might need to get one more tree just to accommodate all the ornaments I made for this one project. This is a terrific project to make if you wanted to send an “instant Christmas” to someone far away, like a loved one living overseas, or a college student in a dorm, or someone who isn’t going to be able to make it home for holidays. These ornaments are easy to flatten/unflatten, so you could stuff a TON of them in an envelope, mail them, and then the recipient could hang them on a tree or even just a couple of branches like I did here.
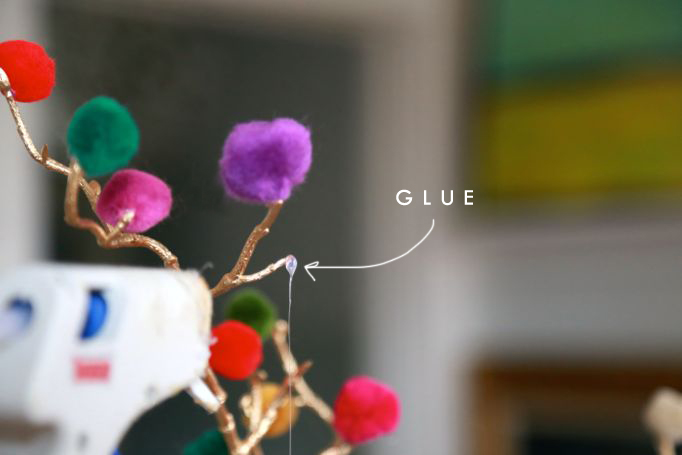
Speaking of which, don’t you love my pompom gumdrop branches? Yeah you do!
Want to make some of these guys yourself? Let’s go!

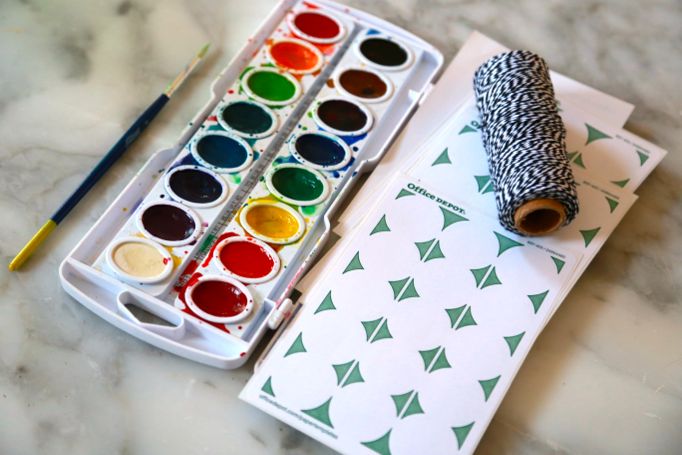
Materials
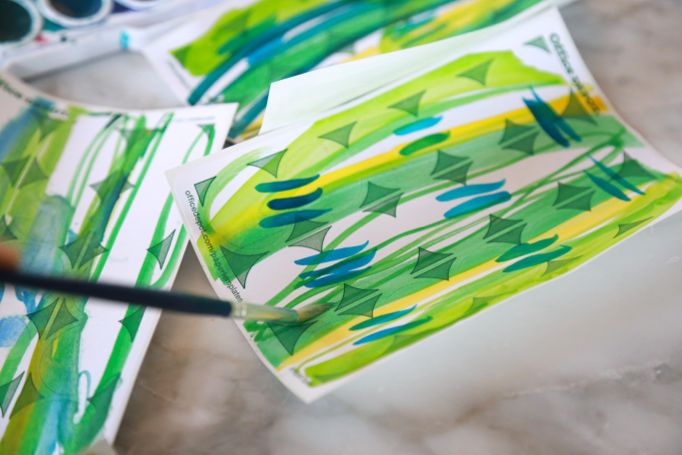
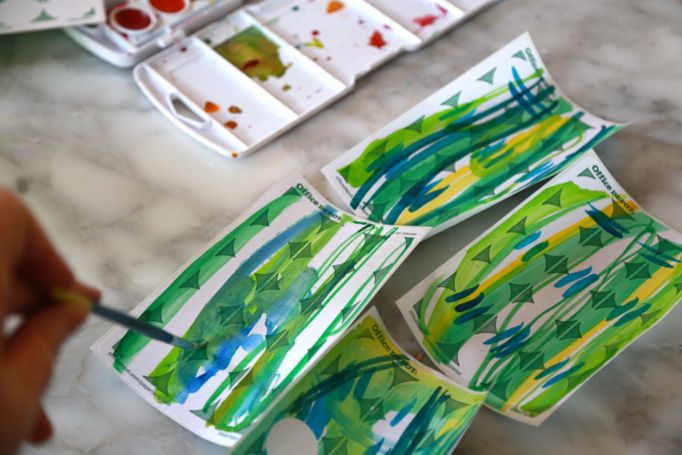
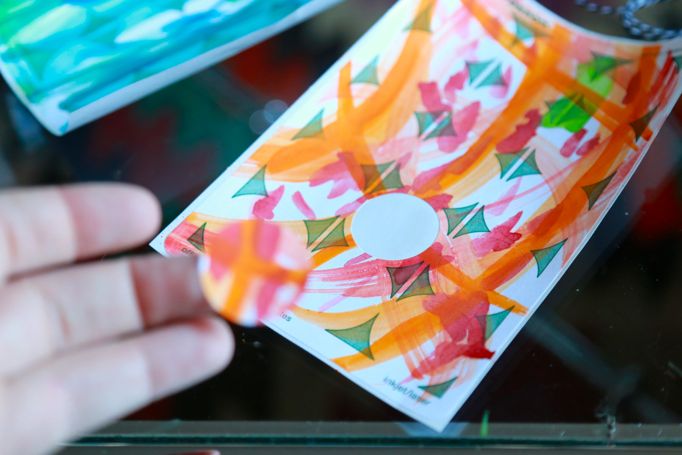
Art. Needs to be on sturdy paper and painted on both sides. Doesn’t have to be paint either – could be marker, or hand prints, or last week’s math homework. Kid’s art work is fantastic for this kind of thing, you just want to encourage them to fill their markings up to the edges, not just the middle. I think stripes look especially good for this project, so if yo have a stack of one-sided work, I’d just flip them over and make some stripes on the back. Don’t get fussy about it – none of that fussy will pay off when they are sliced up so don’t worry about it.
Cup. Or bowl or cookie cutter…just make it round. The thicker your paper, the larger you can make the circles, but if you are working on regular cardstock I suggest keeping them under 3″ or they might get flopsy.
Hole Punch. True story: I once had an argument with my third grade teacher because I insisted that it should really be spelled whole punch because the result of the action was to leave the paper un-whole, and thereby, it was a punch to its wholeness and whole punch was the proper name. You can guess how well that went down. And yes, I still hate homonyms.
String. I love to pair a simple black and white stripe next to colorful artwork, but you do you.

Trace around the glass making circles on the surface of the paper.
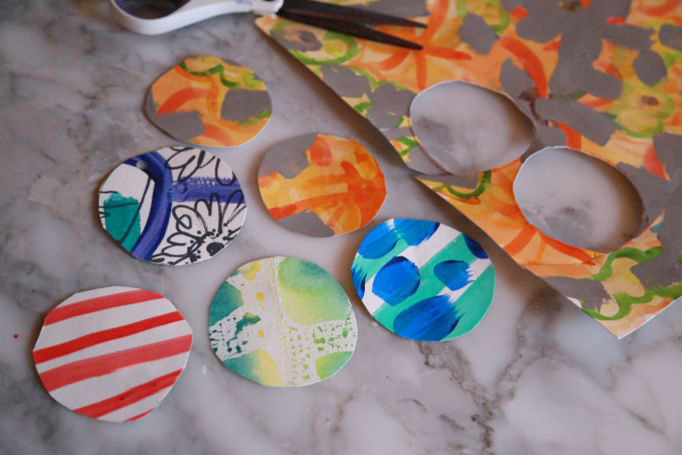
Cut out circles. Lots of them. And then when you think you have enough, you are really halfway there. Cut more!
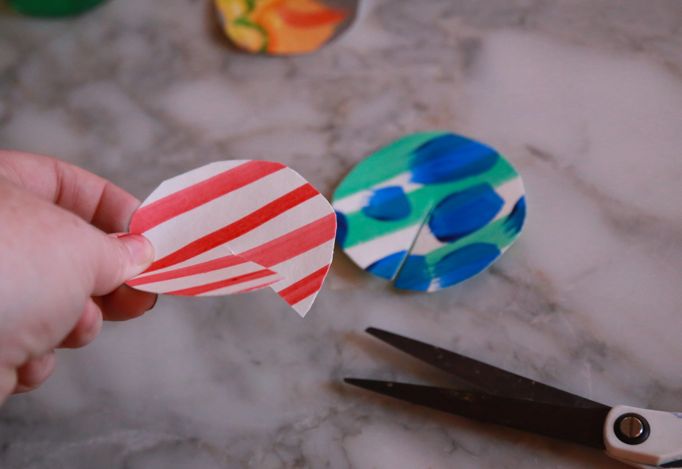
Slice a straight line down the middle of the circle. Stop just a skootch past the center. And yes, you are right, I am not New England enough to say skootch out loud much less write it in public, but you will forgive me because it’s Christmas. So there.
Insert one circle into the other circle like it’s two Pac Mans trying to eat each other.

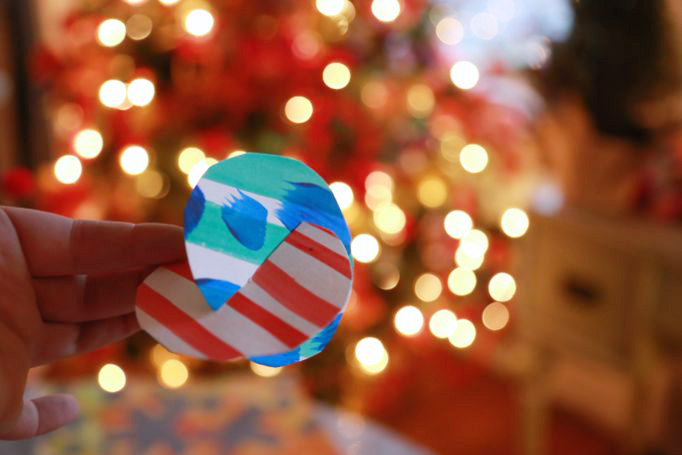
Now is your chance to use your “whole punch.” You can do it in the dead center, but I also like it when some of them are a little off center. Get a bunch of them on the tree and all that mismatch visual rhythm will make it look like the tree is dancing.

Insert string and hang to your heart’s content!
Speaking of string…does everyone know this trick?

This is one of those random things that will come in handy for everyone at some point in their life, especially come christmas. Choose a book that is as wide as 50% of your desired length. If you want pieces longer than a foot or so, skip the book – use an old record, a picture frame, or even a piece of furniture!
Looking for other quick and easy ways to DIY your way up to the holidays? Let’s look at the other friends taking part in Craft Lightning today. All of these ideas can be completed in less than 15minutes!
***
First up Hawthorne and Main is showing us how to create three different Christmas centerpieces all in 15 minutes or less!
Next Simply Kelly Designs is sharing how to make this adorable jingle bell fire truck ornament.

Beth Watson is turning plain craft foam into these awesome faux cookie ornaments.
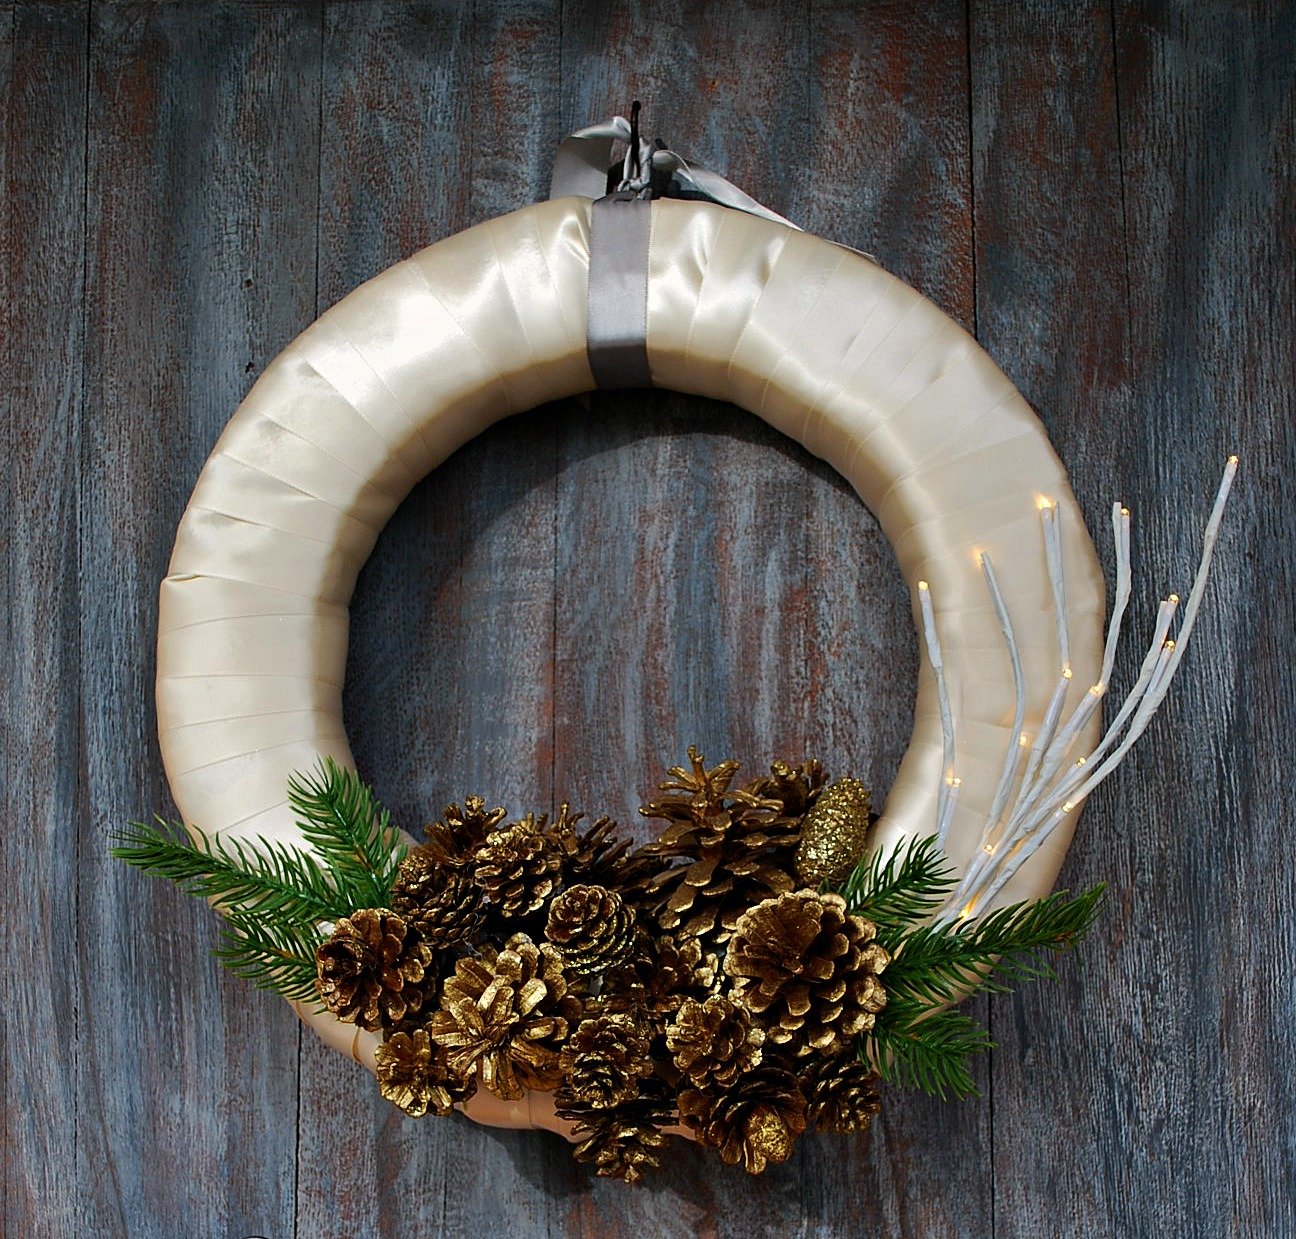
The Silly Pearl is sharing how to make this elegant light up wreath for your door this holiday season.
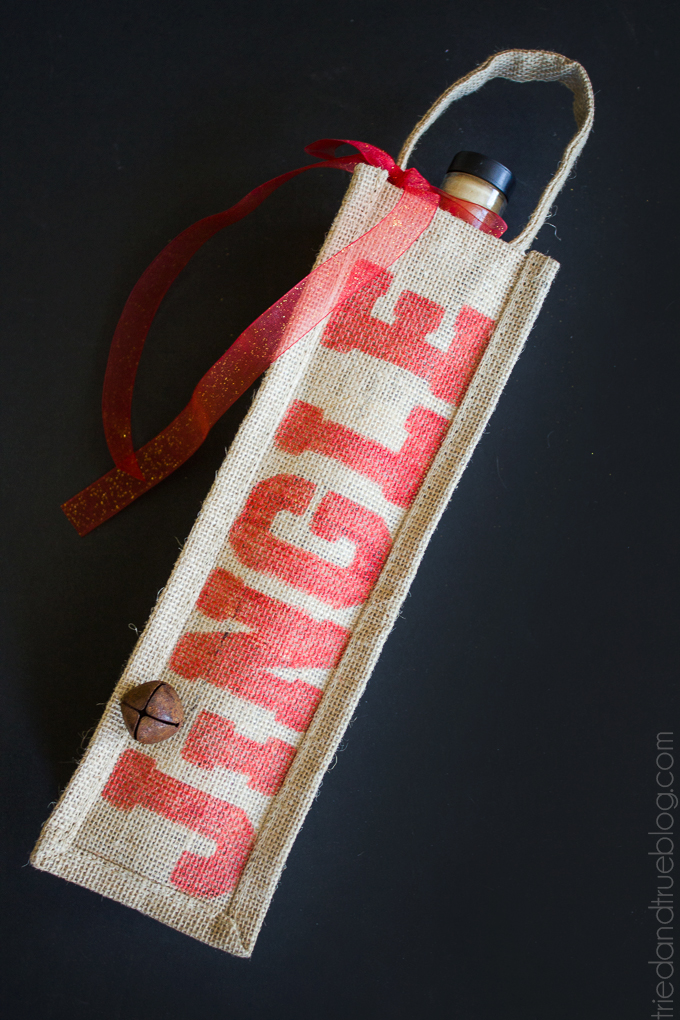
Tried and True is giving the gift of wine in a cute little handmade wine gift bag.
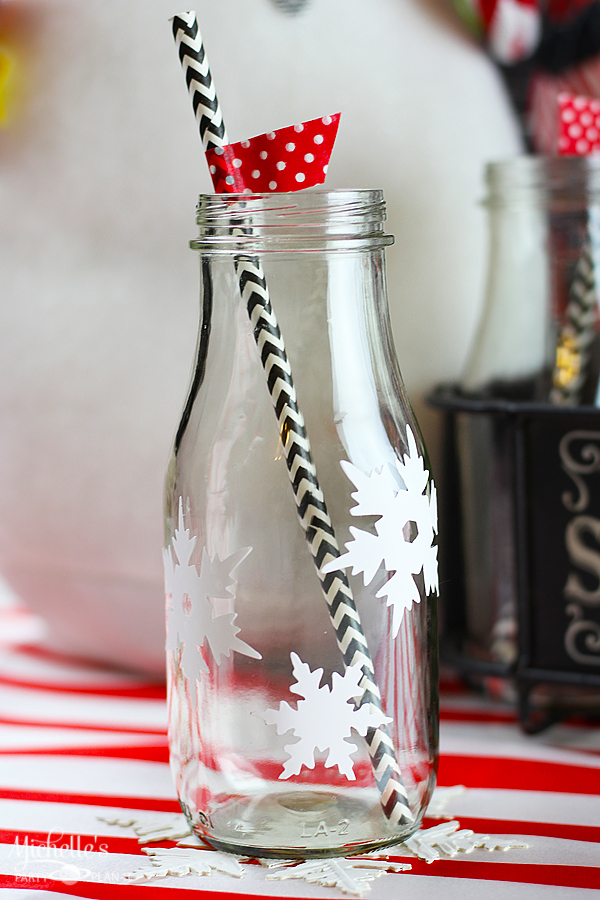
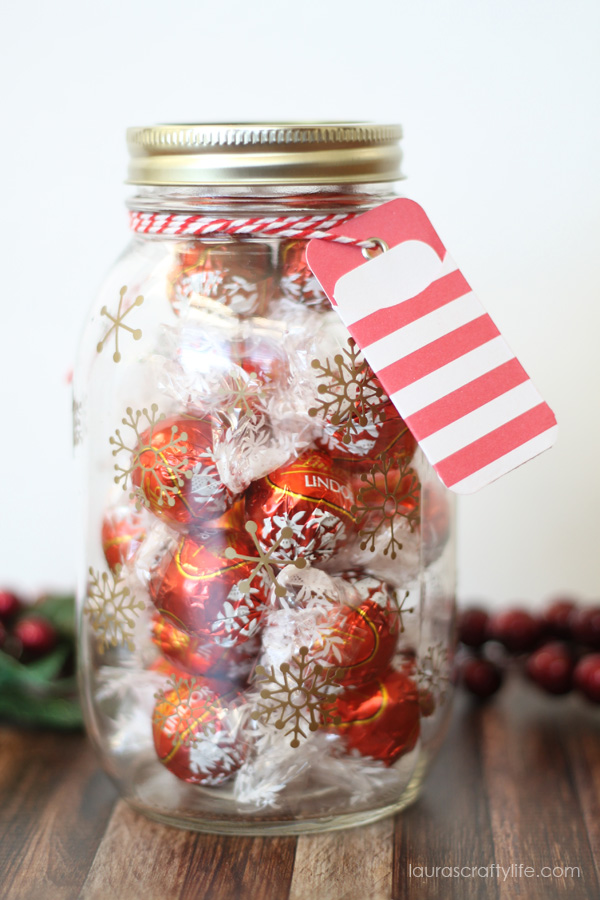
Laura’s Crafty Life is a gift after my own heart with this snowflake mason jar gift idea.
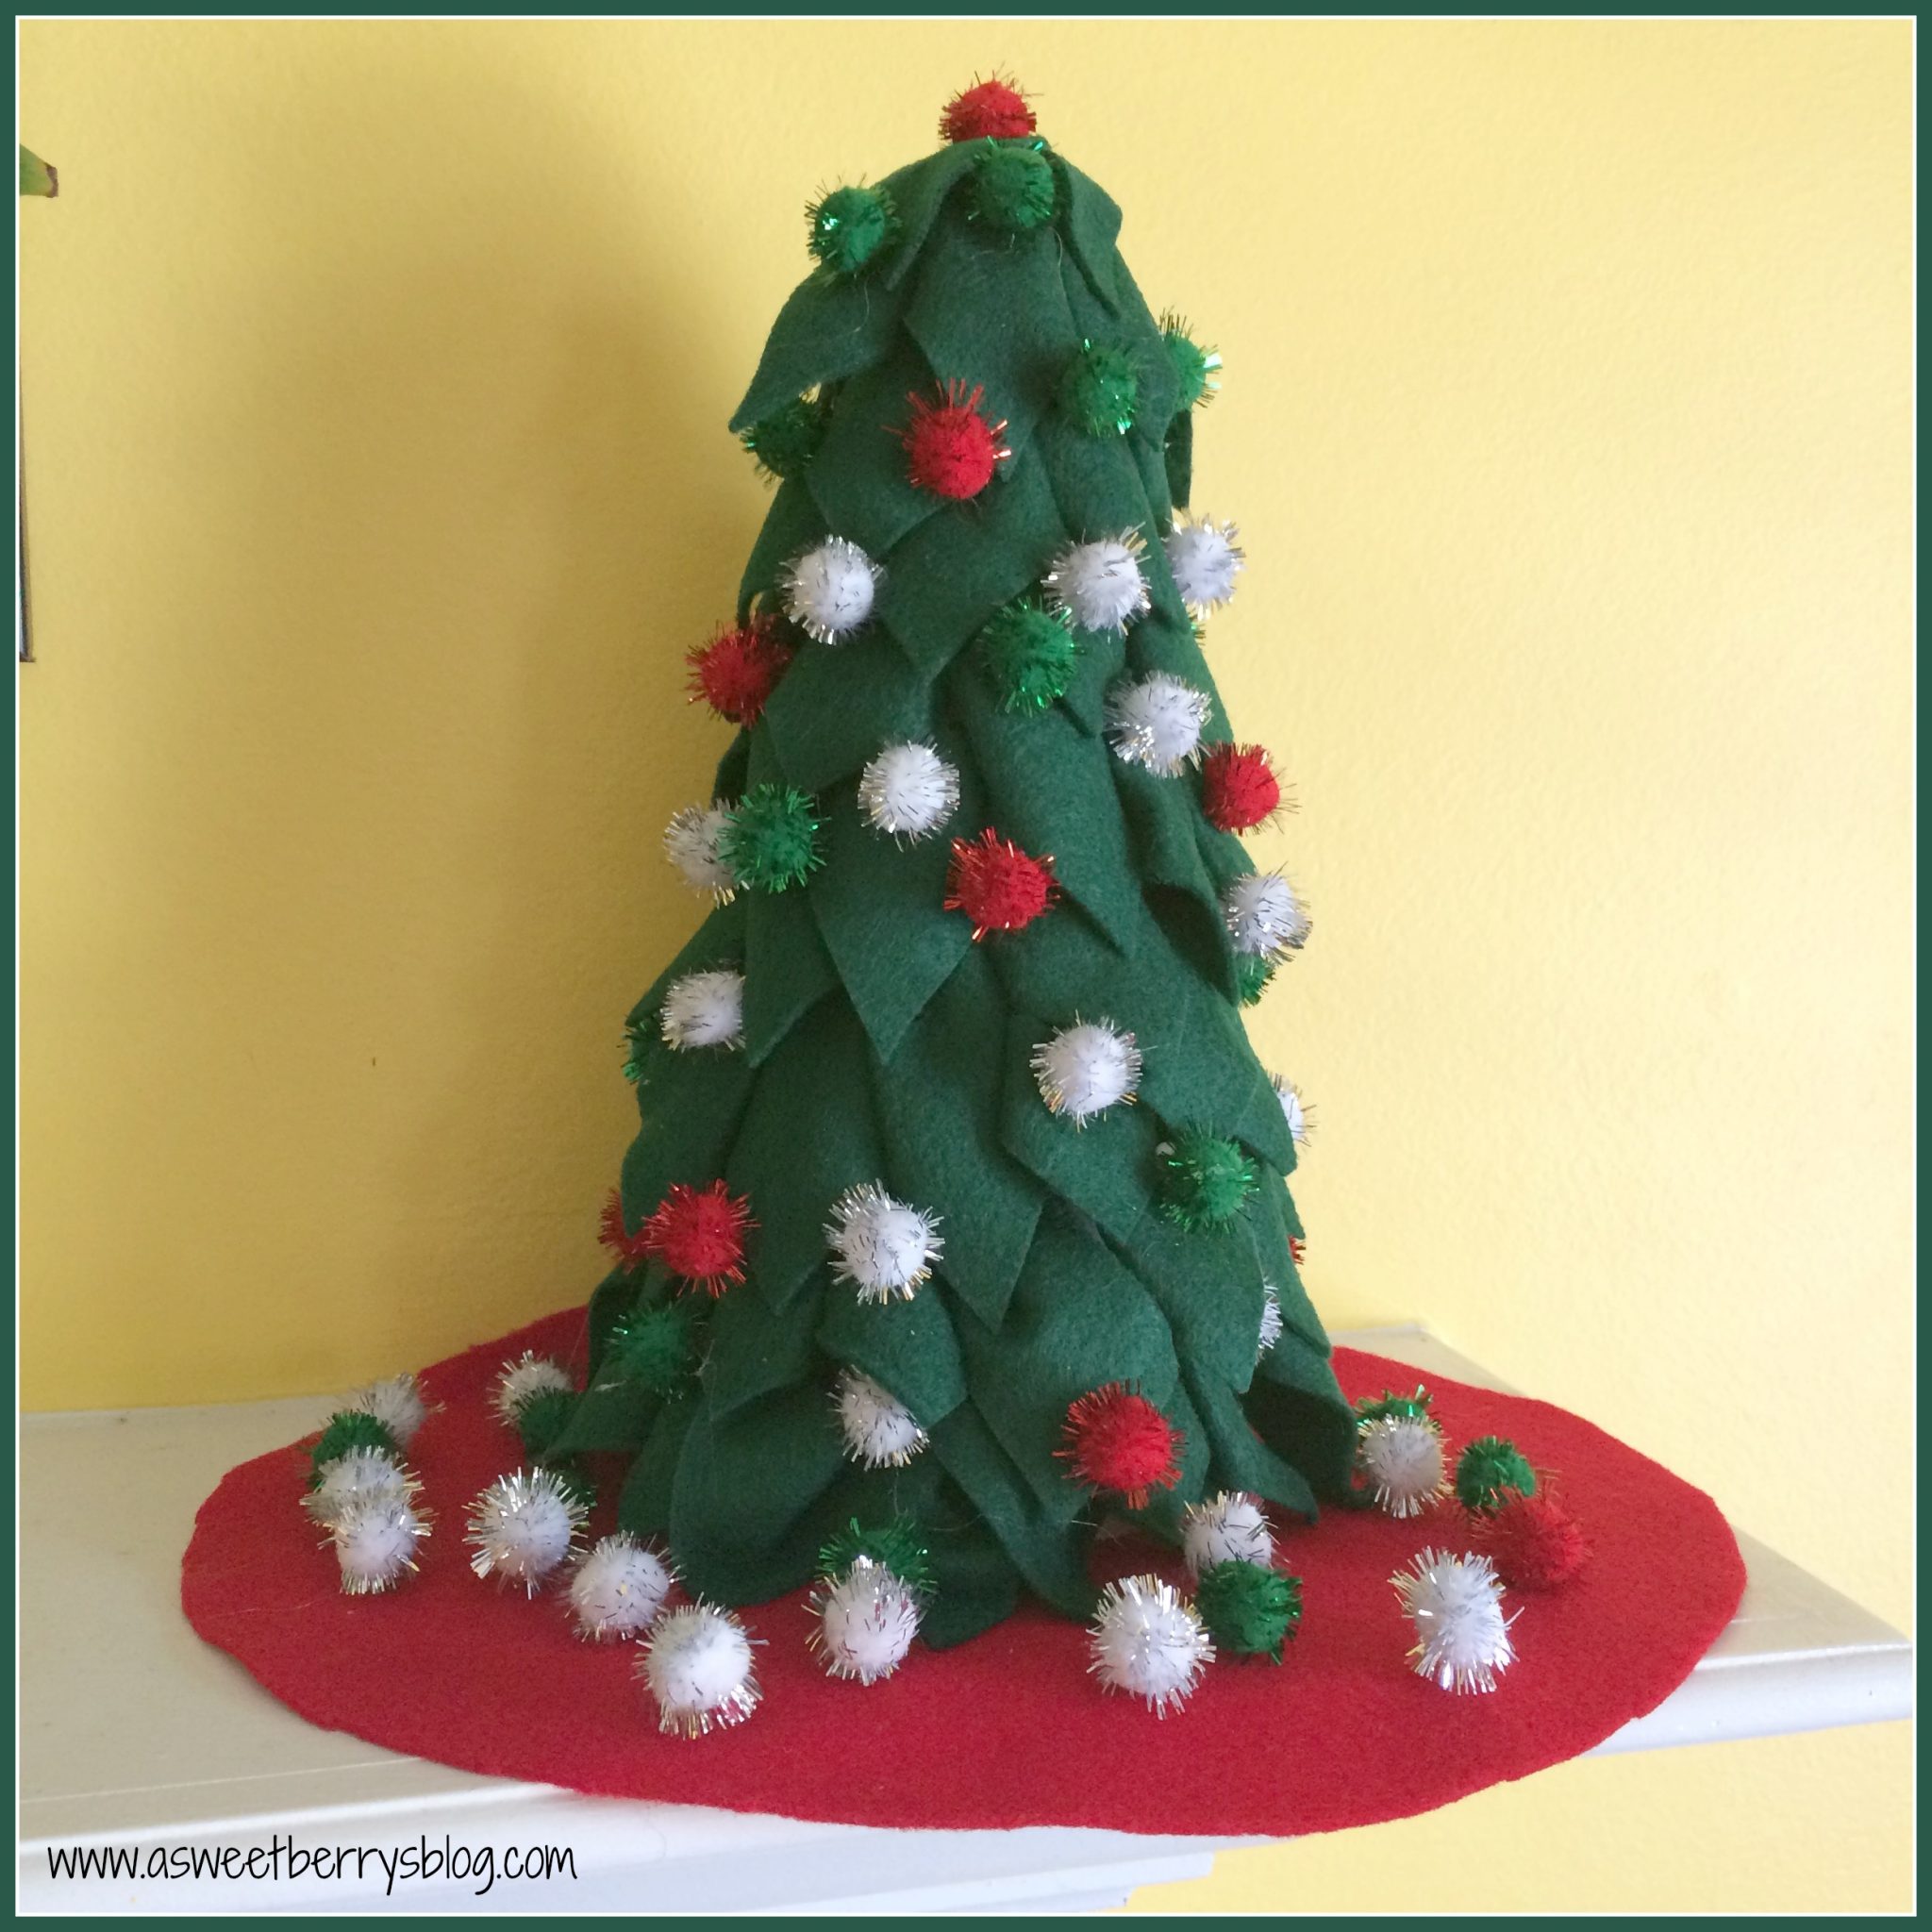
A Sweet Berry is sharing how to make this felt tree in 15 minutes or less.
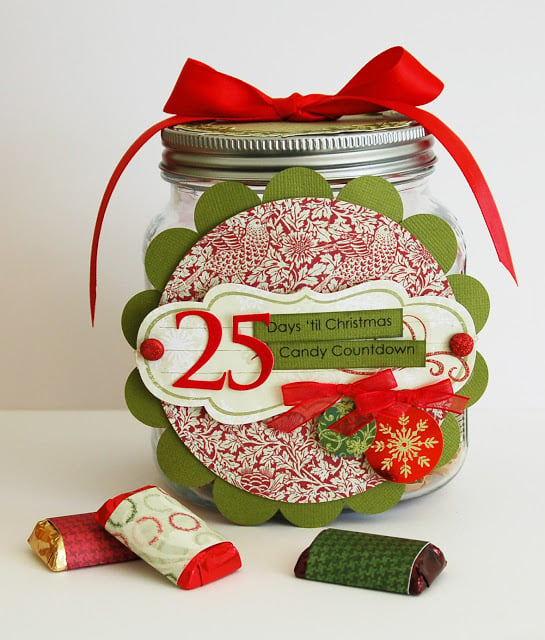
Jen Gallacher has a great idea for a Christmas countdown calendar here.
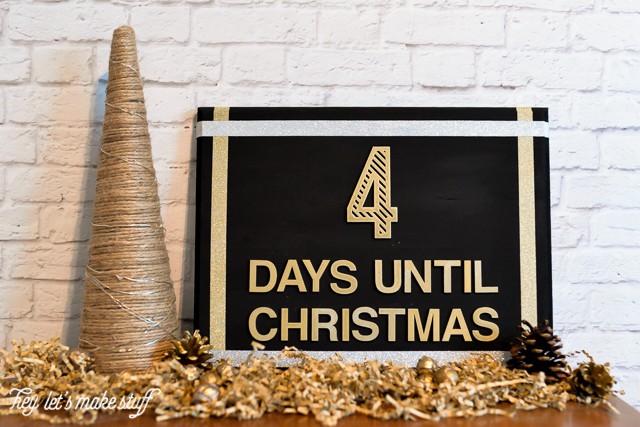
Finally Hey Let’s Make Stuff has a countdown calendar that would look great in your home.
My co-host for the entire series is 30 Minute Crafts and she is sharing these simple wreath napkin rings.