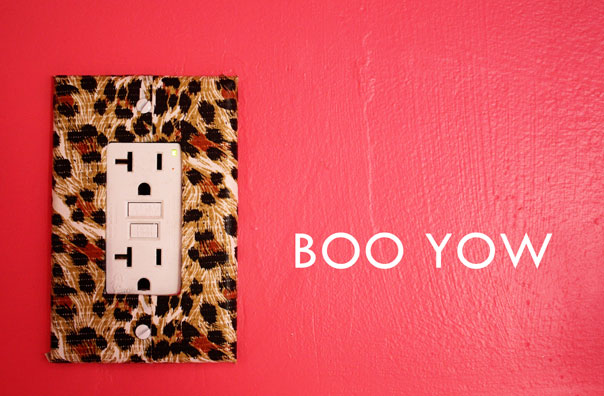
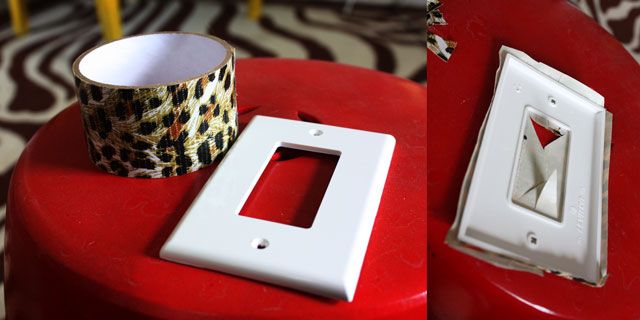
In my never-ending effort to infuse animal print into every nook in my home, I decided to cover my kitchen’s electrical outlets in leopard.
Initially I was thinking about decoupage wrapping paper, but considering the number of times I have wiped splatters of cake batter and spaghetti sauce off my kitchen outlets (don’t act like you have never done it) that idea went out the window. Lucky for me, Duck Tape makes a variety of interesting patterned options, including my beloved leopard. Boo Yow!


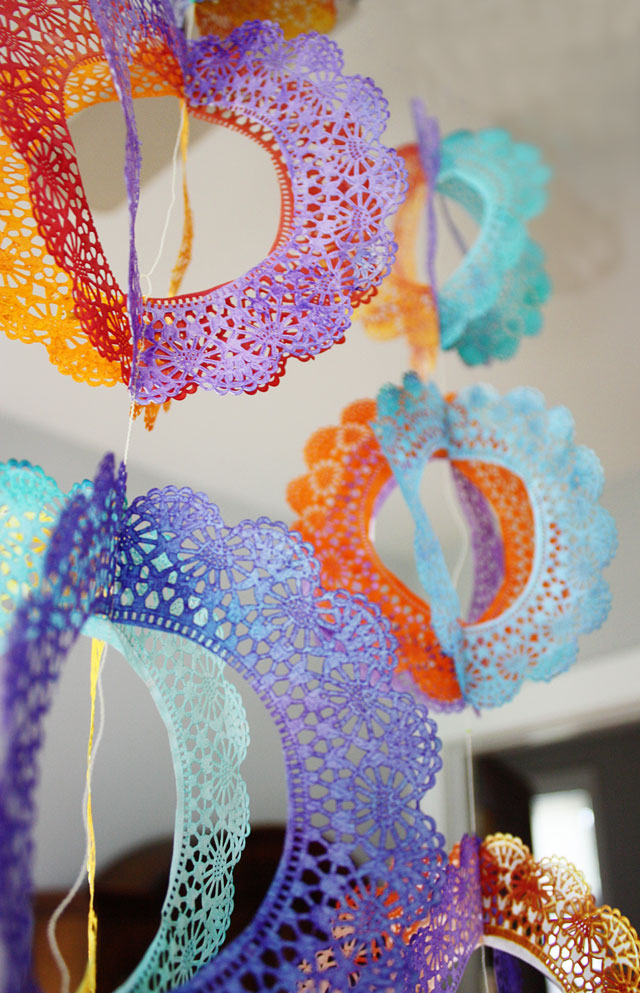


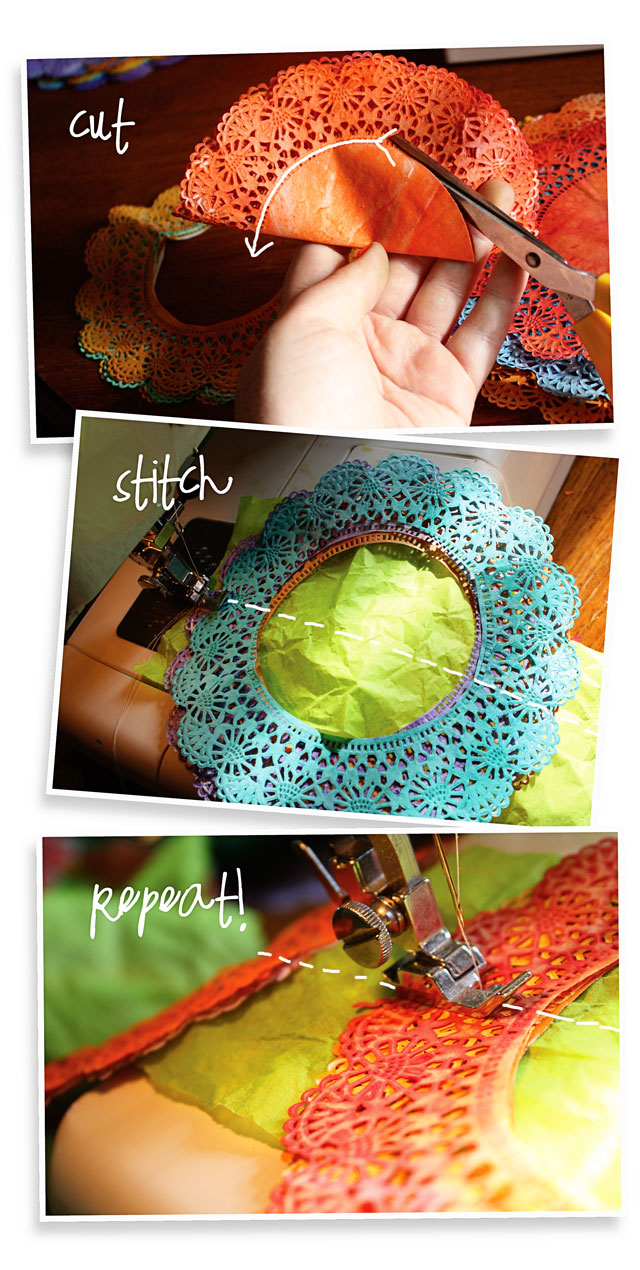


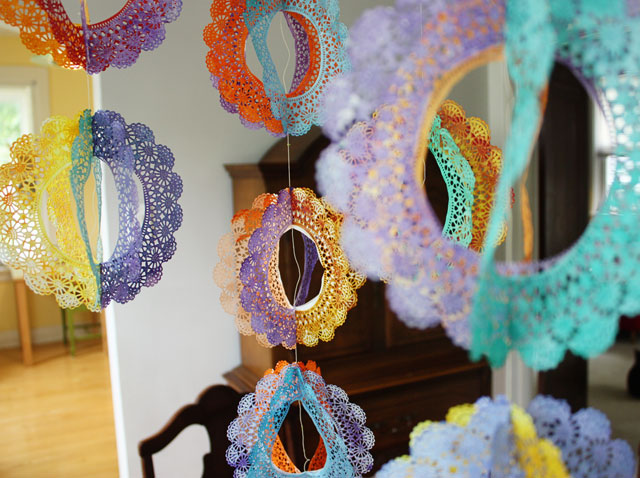


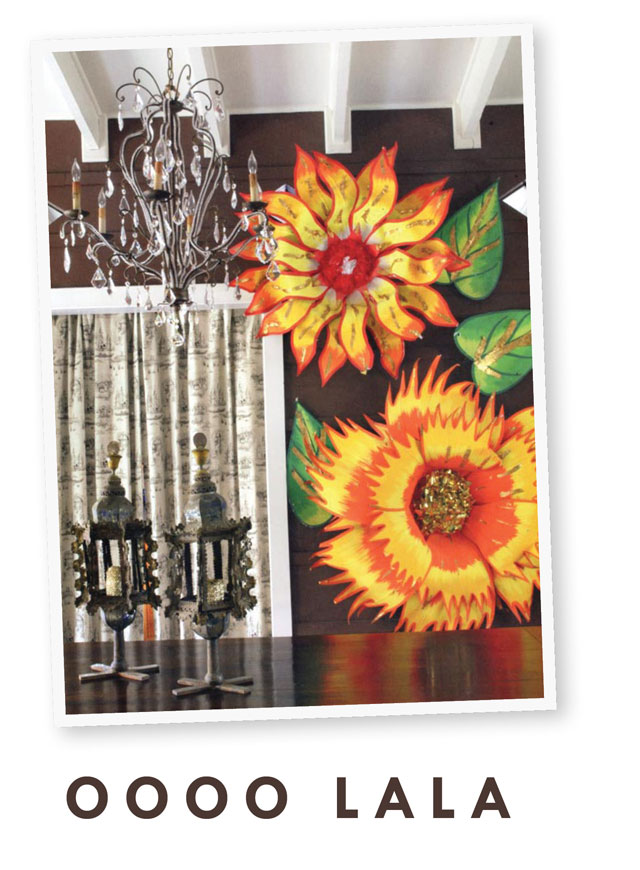

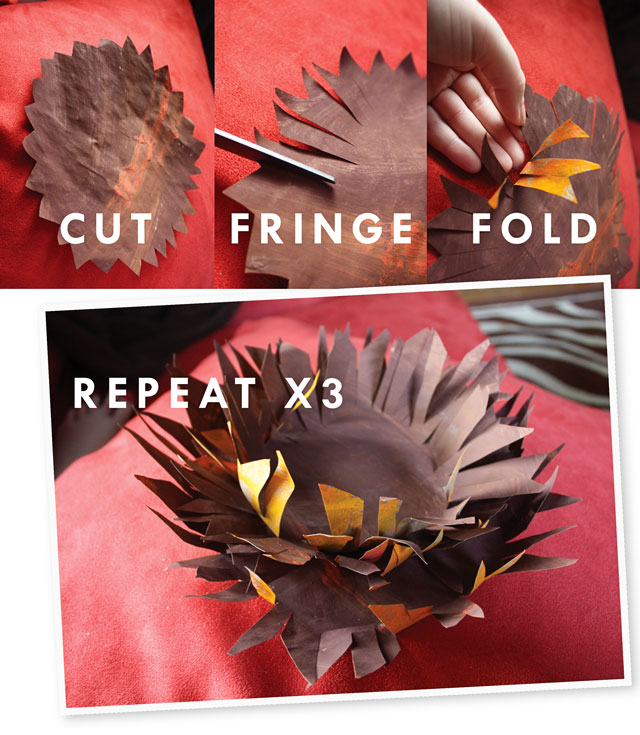
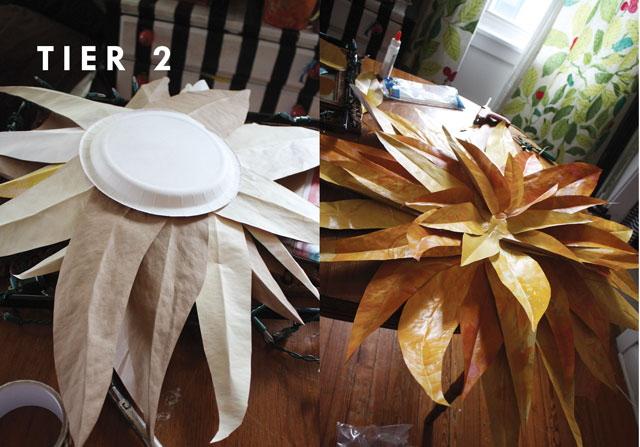
 For the center, cut a small circle of a lighter color, fringe the perimeter, and fold all the petals in on each other.