“We emailed back and forth. Picked a day (today). Decided on a challenge. Created a post with a link to the challenger’s post, and that’s it! Now all you do is check out what I made, check out what Peaches made, and Bob’s your uncle, your work is done! No winners, no losers, just happy happy all around.”
 HaHa “No winners, no losers” she says. Michele is diplomatic. It’s easy to be that way when you are clearly the winner. Just wait until you click here to see Michele’s AMAZING Childhood Charms. They are like happy little stained glass pieces made from her children’s drawings. Stunning.
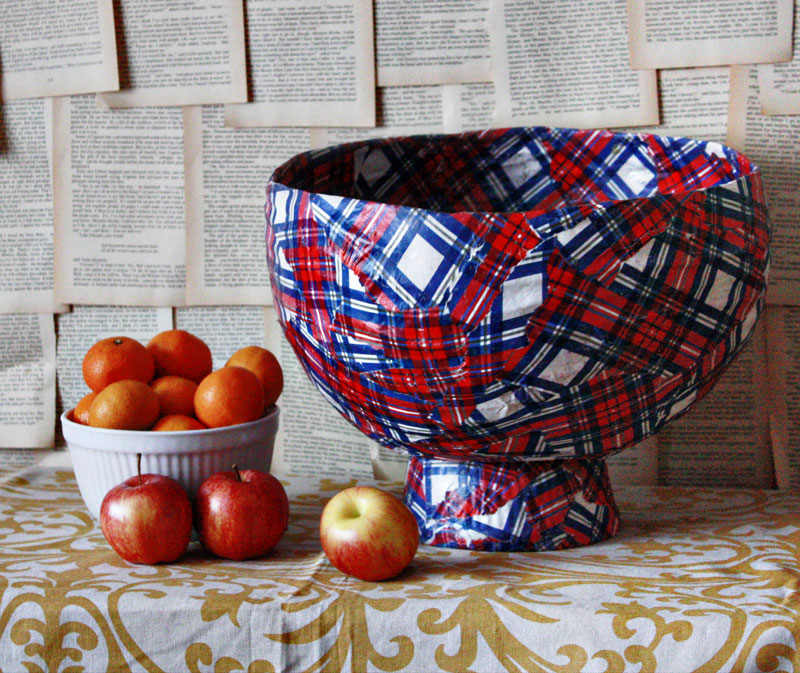
I like my plaid bowl just dandy but honestly, it could not be more plain jane next to Michele’s project. I’m OK with it, but honestly, it has been a long time since anyone has out-glammed me. A LONG TIME. Something tells me I will be eating sequins with supper tonight!
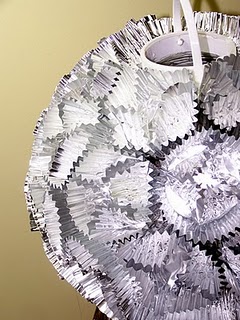
Well, today’s challenge clearly boils down to form vs. function. And while my giant plaid produce bowl isn’t nearly as snazzy as Michele’s charms, it is something I have been hankering to make for years. Years I tell you! I have wanted a giant pedestal bowl to keep on my kitchen table, to hold fruit and veggies that don’t go in the fridge… problem with giant bowls is that they usually come with a giant footprint and take up half my table. No good. Enter paper mache!
Materials
- One old beat up paper lantern
- One large chili bowl (you can skip this if you don’t want it to be a pedestal bowl)
- duct tape
- flour
- water
- carpenter’s wood glue or mod podge
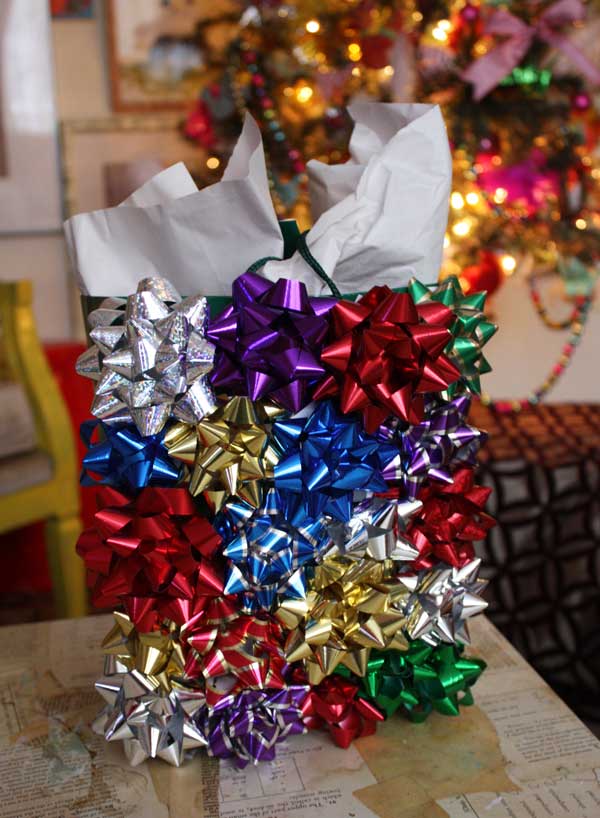
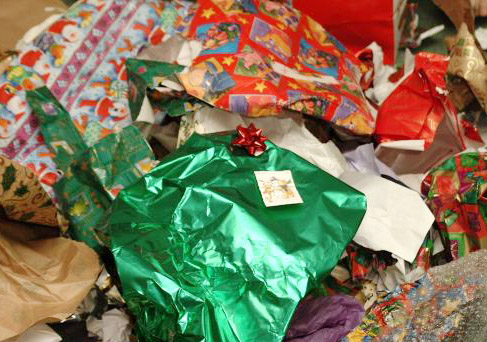
- A Whole Boat Load of leftover wrapping paper, including some brown craft paper or old paper bags (for the base layer)
Warning
This project is messy and takes a while. The kind f thing you do for 30 minutes a day, every day over the course of a week. The goods news is, this project is hard to mess up and kids love to help out. Just be sure they don’t expect immediate results. This one drags out a bit but the rewards are beautiful and will last a long time 🙂

1. Make a paper mache paste. My typical recipe is: one cup flour + two cups water stirred constantly over low heat for two minutes….but you can also buy it commercially or just google up our own recipe.
2. For the base layer, run brown paper under the faucet to moisten. Squish, crumple and tear into pieces no larger than your hand.
3. Put all your pieces the paste pot and beat it around with a wooden spoon (note: kids LOVE this step!)
4. One by one pull pieces from the pot and use your fingers to ensure they are fully coated (Note: kids LOVE this step even more!)
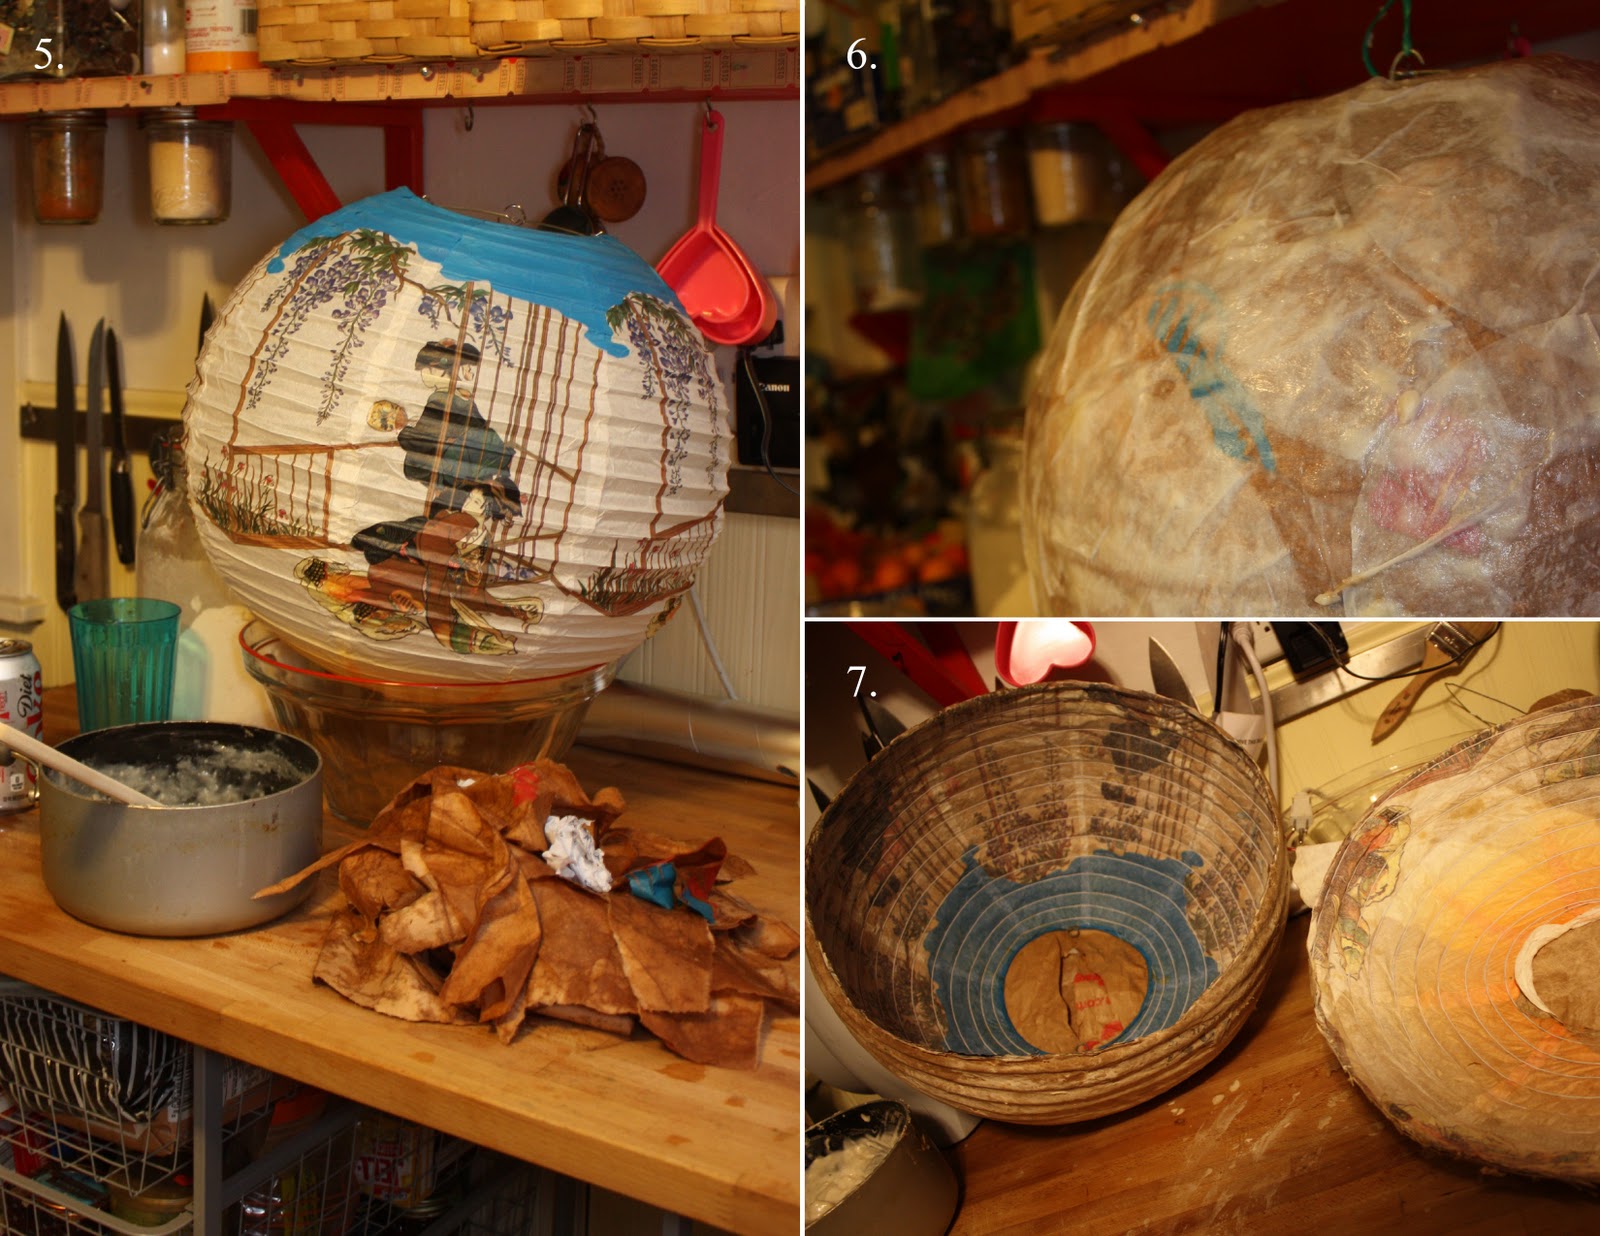
5. Prop your lantern up on an old bowl. Be prepared for a mess. As you can see, I left my kitchen messy to match the craft today. Yeah, that’s it.
6. Lay pieces on the lantern, overlapping heavily. Let it dry thoroughly.
7. Once dry, use scissors to cut the lantern in half. Now you have your basic bowl shape in place and you can go back and repeat steps 1-4 with wrapping paper, building layers as you go. The more layers, the stronger the bowl. If your bowl is going to be just for decorative purposes, you could probably get away with just a layer of craft paper and single layer of wrapping paper, but since mine is going to hold some heavy duty fruit and veg, I made 5 layers over the course of a week.

 With this little challenge project, I have saved space, found storage, utilized some otherwise discarded paper, and had such a fun time working with Michele! Again, I urge you to check out her AMAZING Childhood Charms and leave a comment on either of our sites. There is no winner here (ahem!) but y’all are certainly welcome to weigh in 🙂 Many thanks to Michele for coming up with this wonderful idea! Until next time….